


Installing solar panels can easily scare many motorhome owners. But the process doesn’t have to be complicated. Even better, you can do it without drilling holes into your precious vehicle.
A solar panel system for motorhomes is one of the best ways to become energy independent and remain off-grid for as long as possible. It means more time on the road and less time hooked up to shore power at the campground.
Our beginner-friendly guide explains how to install solar panels on your motorhome, so you’ll be ready to tackle your next road trip.
We’ll cover everything you need to know about how off-grid systems work, a step-by-step guide on installing the panels on your motorhome roof, and mistakes to avoid.
Let’s dive right in!
How Off-Grid Systems Work
Off-grid systems let you run your lights, refrigerator, and other appliances without relying on electricity mains or shore power.
Unlike on-grid systems, off-grid renewable power does not rely on electricity provided by a local utility company. Instead, these systems use other sources like solar power, wind turbines, hydropower, or fossil fuels to create standalone systems.
While these are all examples of off-grid systems, they aren’t all applicable to motorhomes, so here we’ll focus on solar-powered off-grid systems.
An off-grid solar system includes solar panels, a portable power station, and a balance of systems.
Let’s take a closer look at each component:
- Solar panels: Photovoltaic panels capture solar energy.
- Power Station: The battery in a portable power station stores energy for later use.
- Balance of Systems: The BOS consists of all the other components besides the photovoltaic modules, including power controllers, inverters, wires, fuses, circuit breakers, etc. Some systems may have some of this equipment built in, such as the inverter.
Solar-powered systems work when photovoltaic panels capture sunlight and generate DC electricity. An inverter converts the DC energy into AC (household) electricity, which powers most appliances or electronics. The converted energy charges the portable power station, which users can plug into to run electronics and appliances.
Why Portable Power Stations Make It Easier
Motorhome owners can use portable power stations or solar generators to store energy and power their appliances.
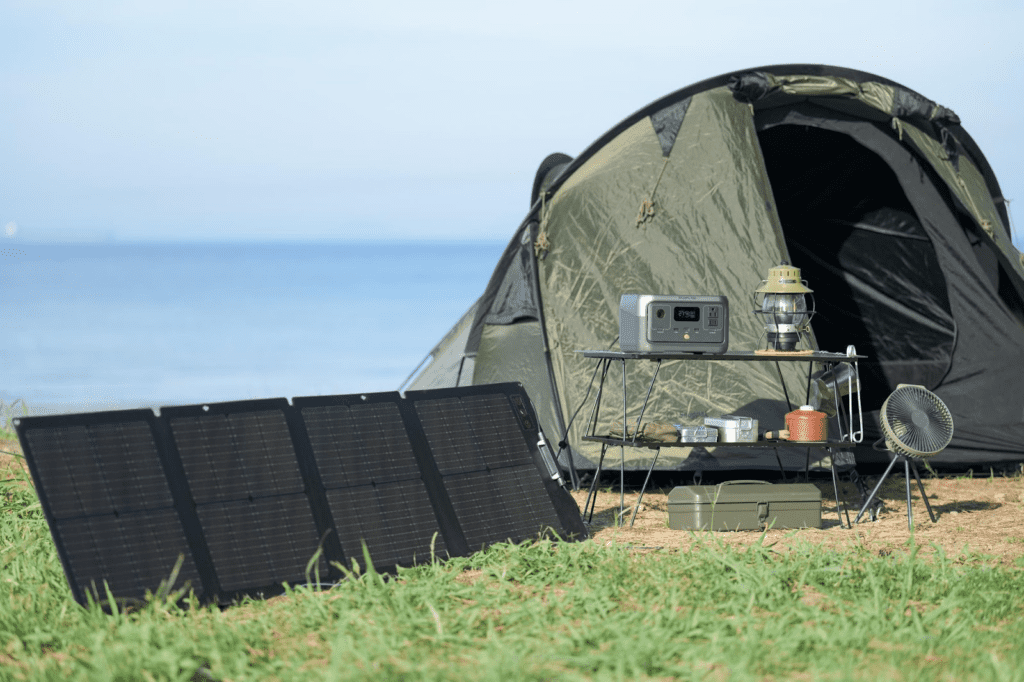
A portable power station serves as a battery. You can recharge it via an outlet, car adaptor, or solar panel. Since you can’t plug the solar panels directly into the motorhome fuse box, you’ll need a portable power station for the system to be operational. A setup like the EcoFlow River 2 Solar Generator bundles the solar panels and portable power station and recharges via solar in just 3 hours.
Portable power stations with solar capability are also better if you’ve been considering traditional fuel-based generators like petrol, diesel, or propane for your electricity backup.
Portable power stations don’t produce carbon monoxide since no internal combustion engine burns fuel. The toxic exhaust fumes from fossil fuel generators pose a serious health risk, making a PPS with solar much safer.
As a motorhome owner who travels cross-country or lives remotely, you need a reliable energy source to power your lifestyle. The best option is either portable power stations or solar generators. These units don’t require you to rely on fossil fuels, which can be costly or in short supply.
Full-time motorhomes looking for a more permanent or robust solution should consider solar power systems with expandable battery capabilities, like the EcoFlow Modular Power Kits. With each battery containing 5kWh of storage, you can stack up to three batteries for 15 kWh of power. The EcoFlow Modular Power Kit comes with a Power Hub that saves space and simplifies installation.

What You’ll Need Before Installing the Solar Panels
Before beginning your motorhome solar panel installation, you’ll need to gather the following:
- Solar panels
- Portable power station
- Strut channel
- Brackets
- Drill
- Adhesive tape
- DC wires
- Wire stripper

How to Install Solar Panels on a Motorhome
While installing solar panels on a motorhome roof isn’t required, a roof-mounted solar system allows you to collect energy while travelling on the road.
You have a few options for mounting solar panels on a motorhome:
- Fixed mounting: Fixed mounting systems are designed for rigid solar panels and require drilling holes on the motorhome roof. Then you’ll need to install mounting brackets to fix the panels in place on a flat position on top of the fixed mounting system.
- Flexible mounting: Flexible solar panels (thin-film) adapt to the shape of the motorhome, making them easy to install on any motorhome roof. You’ll use adhesive tape to set the panels in the proper position. However, you may have to drill a hole into the roof to feed the cables into the motorhome, but this installation will only require one hole.
- Tilt mounting: Instead of fixing the solar panels in a flat position, you would install them using a tilted position. A tilting platform lets you adjust the angle of the panels for optimal sunlight capture. This mounting system improves light absorption, thus yielding a greater power output.
This instruction guide will cover how to mount rigid solar panels, which have a greater energy efficiency than flexible panels.
Also, a fixed mounting installation creates space between the solar panels and the roof. Since solar panel performance is significantly affected by temperature, you’ll get the most out of your panel with fixed mounting.
Video guide
1. Plan Your Solar Panel Layout on the motorhome Roof
Lay out your panels on the motorhome roof and mark the panel locations with coloured tape. Avoid areas where a satellite dish or an air conditioner may cast shade.
A pre-installation layout lets you visualise how they will appear on the roof and where you need to install the struts. If connecting multiple solar panels, you also want to leave enough space (about 20 mm) between them.
While planning the roof layout, check for any damages or leaks in the roof. If there’s damage, it’s better to repair the roof before continuing with your panel installation.
2. Remove Satellite and TV Antenna From motorhome
We recommend removing any obstructions from your motorhome, such as a TV antenna or satellite dish. Having them on top of your roof can prevent your panels from getting the best exposure to sunlight without obstruction.
The ideal layout is to have only your panels and vent on the roof to maximise access to sunlight.
3. Mount the Solar Panels
The mounting process differs depending on the type of panels you have. You must install rigid panels with screws by drilling holes into your roof. They can either be affixed flat or tilt-mounted on the roof.
However, you don’t have to drill holes in your motorhome roof to install solar panels. Flexible designs can be mounted with adhesive attached directly to the roof surface.
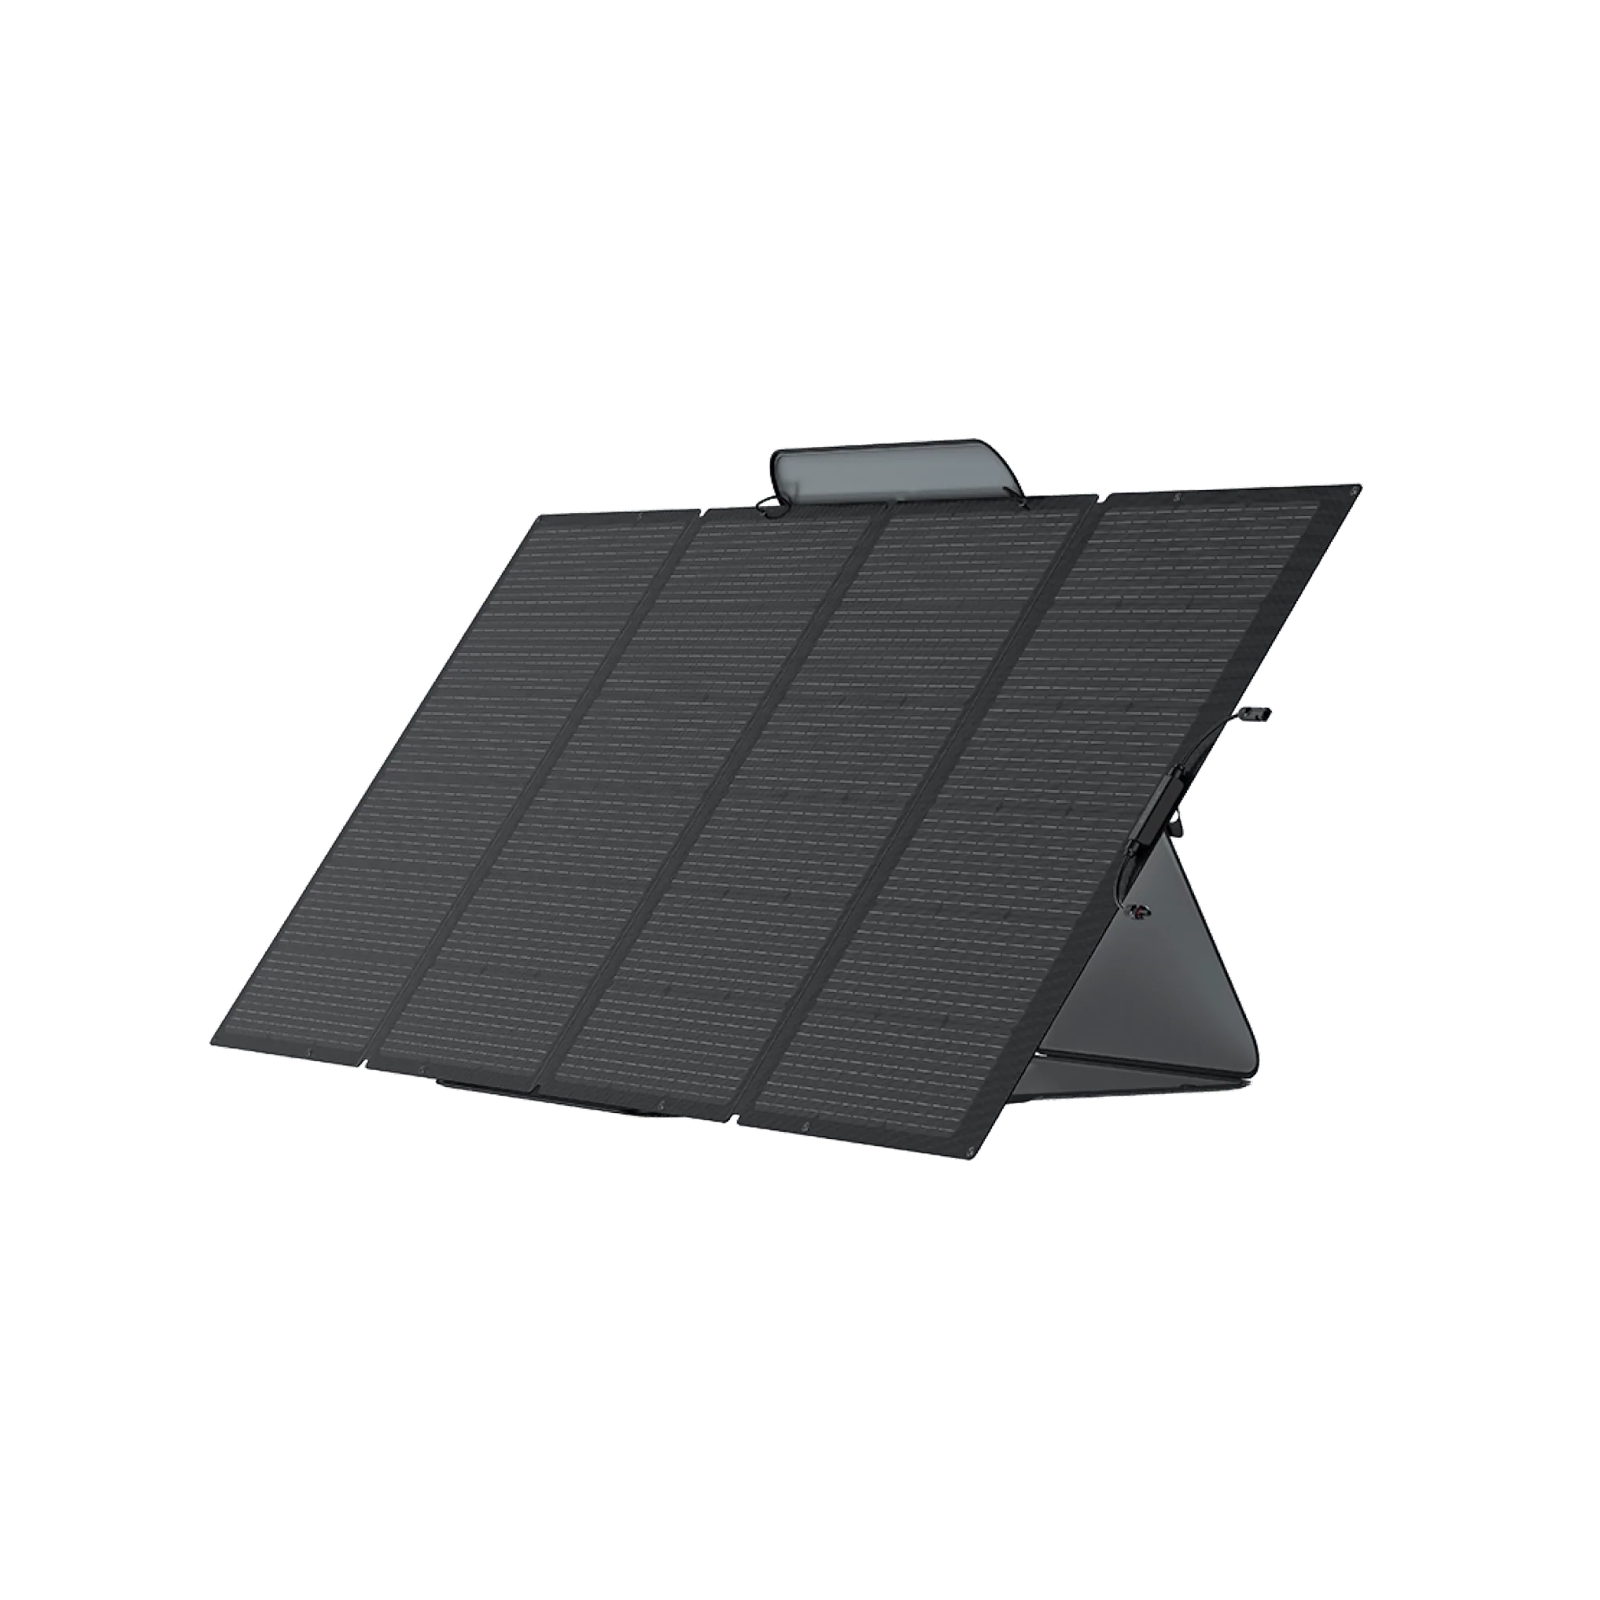
Additionally, you can find removable types like EcoFlow Portable Solar Panels, which have a foldable design and portable carry case. They require no installation and are easy to set up.
You’ll need to drill holes if you opt for rigid solar panels with a fixed mount. Next, bolt the brackets tightly based on the positioning of your panels. Apply sealant underneath the brackets to keep an air-tight seal and prevent potential roof leakages.
Attach the solar panels to the fixed mounting hardware.
4. Connect Multiple Solar Panels
If you intend to connect multiple solar panels, you have two connection options: in series or parallel:
- In series: Attach the positive terminal on the first panel to the negative terminal on the second. This type of connection increases the voltage.
- Parallel: Connect the panel’s positive cables with the positive cables of the other panel. Do the same with the negative cables. A parallel connection is preferable if you want to increase your current value.
5. Connect to the Portable Power Station
Once you’ve installed your solar panels, you should be able to connect them directly to the portable power station. Your power station should come with an adaptor to connect the solar panels to the power station. If it didn’t, you’ll need to purchase an adaptor separately.
The power station should start charging once you connect the solar panels.
6. Run Wires for DC Appliances
The fuse box of a motorhome will support both 220-240V AC and 12V DC power. Appliances that use AC power include the TV, refrigerator, water heater, and AC outlets. Your DC power supplies electricity to the lights, fan, USB outlets, water pump, heater fan, etc.
When you connect to shore power at a campground, the electricity runs directly into your fuse panel, which looks like the breakers in a regular house. One of the breakers on the AC side runs 220-240V through a convertor to the 12V DC panel.
You’ll need to run separate wires to connect DC appliances to the fuse box. You can install the cables along the ceiling and trim to keep everything tucked neatly out of the way.
You don’t need to worry about running wires for AC appliances because the power station already has plugs for those.
7. Connect Wires to the Fuse Panel
Once you’ve run wires throughout the motorhome for DC appliances, it’s time to connect them to the fuse panel.
You can use a wire stripper to expose the wire and remove the protecting coating. Then you can crimp terminal heads onto the wires using a crimping tool. The metal bends around the wire to hold it in place.
You connect the heads to the fuse panel, which should have the negative and positive connections labelled.
From there, add a fuse to the positive section. The fuse protects from power surges.
8. Connect Fuse Panel to Power Station
The easiest way to connect your fuse box to the power station is to use a cable with a car adaptor plug on one end and wires with a positive and negative attachment for the fuse box on the other.
Connect the wires to the fuse panel first. Then plug the other end into the power station and turn it on.
If your power station has an LCD, you should be able to turn everything on and see your charge levels and more. With many EcoFlow products, you can monitor and control usage using a smartphone app.

What to Avoid When Installing Solar Panels
When installing solar panels on your motorhome, there are a few things you’ll want to avoid to optimise performance.
- Roof obstructions: Avoid placing your panels too close to the roof’s edge to reduce the risk of accidental damage. Keep the panels free from obstruction by other items installed on your motorhome roof.
- Improper Tilt Angle: Adjust the tilt angle for the most direct sunlight. Ideally, the installation tilt should be above 10 degrees to avoid dust accumulation and buildup.
- Electrical Wiring Hazards: Don’t accidentally drill into any electrical wiring while mounting your panels, as this could risk electric shock and create a fire hazard.
Avoid Installing Campemotorhomean Insulation
While many people recommend using insulation tape as a seal for sticking solar panels on your roof, we advise against it. That’s because insulation tape doesn’t protect against water ingress.
Sticking cells together likely reduces the panel’s efficiency to some extent, so doing so can end up costing you power over time.
Also, you could tear the insulation if you’re trying to remove the offending objects from your panels.
If you go with adhesives for installing flexible solar panels, ensure that it’s strong enough to withstand all types of weather.
The adhesive should stick well in hot and cold conditions, even when condensation forms on metal surfaces. Your panels must be adhered to properly to prevent them from moving around or flying off when driving on bumpy roads.
Also, don’t use too much adhesive since that can block off ventilation points. Using excessive adhesive can restrict airflow affecting the temperature and making the panel too hot or cold, thus reducing its lifespan.

How Much Does It Cost to Install Solar Panels on a Motorhome?
For many motorhome owners, the initial costs of solar panels and a solar power system cost can deter them from taking advantage of off-grid systems and their cost-saving benefits.
Typically, a single solar panel can range between £250 to £1,000 depending on its construction quality, efficiency, size, and panel type.
Those who wish to run everything except an air conditioner, microwave, and fridge may only need a 400-watt system. A system like this may cost £2,500 to £6,000. The cost includes a 400w solar panel, all the installation equipment, and other solar power system components.
However, the more power you need, the more panels and larger batteries you’ll need to buy.
For example, if you have a small, portable setup like the EcoFlow River 2 and 110W portable solar panel, you might only pay in the range of $450-$650. The cost increases depending on the battery capacity and the more solar panels you add. The River 2 Max and River 2 Pro both offer more capacity and a higher wattage solar panel but cost more. With one 110W panel and 256Wh capacity, that’s enough to power small devices like a 110W TV, 10W lights, and your laptop.

On the other end of the spectrum, if you want to get a high-capacity solar generator like the EcoFlow DELTA Pro and a 400W portable solar panel, you’re looking at paying around £5,000 or more. The price goes up in direct proportion to the battery capacity and the number of high-power solar panels you add.
Keep in mind this doesn’t include any mounting equipment or electricians you’ll need to hire to mount the panels on your roof.

How Many Solar Panels Do You Really Need?
In most cases, one solar panel won’t be enough to maintain your motorhome lifestyle. Everyone is unique in their power consumption needs, so your best bet is to weigh the various factors that affect your power consumption.
Let’s consider the factors to help you determine how many solar panels you need.
- Energy consumption: Knowing how much power you’ll consume daily is crucial to ensuring you have enough solar panels. The solar panel’s job is to keep the battery fully charged to support your lifestyle.
- Available daily sunlight: Peak sun hours measures how much sunlight an area receives.
- Watt rating: Panels with higher rated power wattage mean you’ll need less. For example, it takes four 100W solar panels to equal the output of one 400W panel.
- Angle: The positioning of panels can affect their power output. In particular, the angle of the solar panel in relation to the sun determines the maximum power density.
- Shade: Consider any shading that your panels might be under. Shade decreases the energy efficiency of the panel by blocking sunlight. The cells under the shadow won’t be able to produce as much electricity.

Buying Solar Panels for a Motorhome
Not all solar panels are the same. You’ll need to consider the type of panel and the best options based on your situation.
Here are things you should keep in mind when buying solar panels for a motorhome:
What Are the 3 Types of Solar Panels?
Solar panels fall into three categories: monocrystalline, polycrystalline, and thin film. These panels vary in performance, production, cost, and installation.
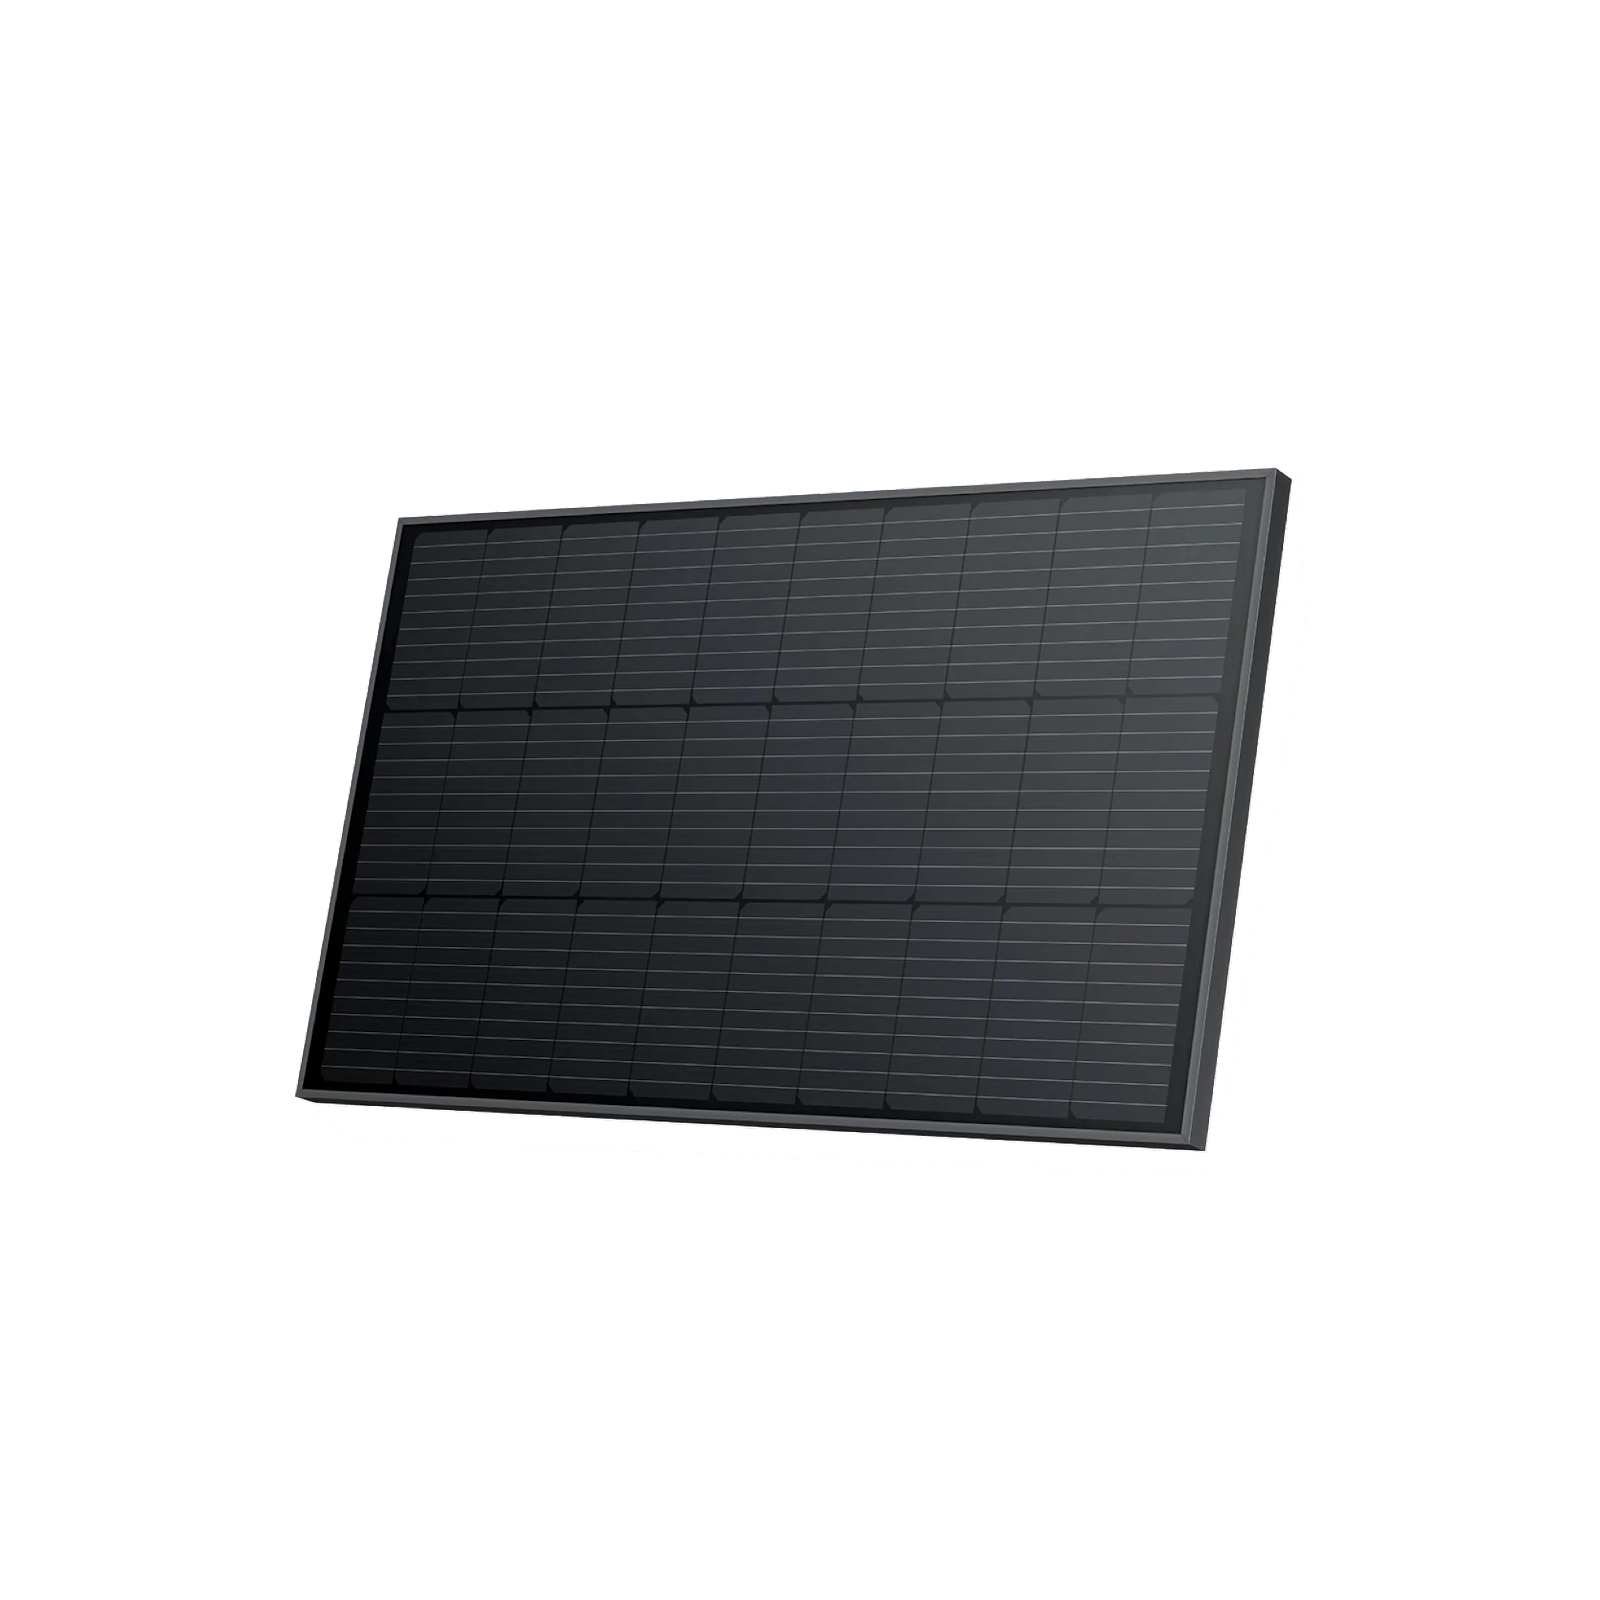
Monocrystalline solar panels offer the highest efficiency ratings within the industry. These panels convert about 20% of their sunlight into electricity. Some of the most efficient panels, like the EcoFlow Rigid Solar Panels, now have up to 23% efficiency.
Monocrystalline panels are perfect for motorhomes since there’s limited roof space, allowing you to maximise the amount of electricity captured per square foot. The only downside is that monocrystalline panels have a higher initial cost. But that will be offset over time by providing more electricity.
Polycrystalline solar panels are less efficient and fall below 17% in efficiency ratings. However, they’re more affordable. These panels can be a good, entry-level budget option.
Thin film solar panels aren’t like monocrystalline and polycrystalline panels, which both use silicon cells. The thin film PV panels use material layers rather than rigid cells, making them lightweight and flexible.
Unfortunately, thin film panels are the least efficient. They require a lot of roof space and tend to degrade faster, so they’re likely to have shorter warranties.
Best Solar Panel for motorhomes
Monocrystalline is the best choice when selecting solar panels for your motorhome, giving you the
highest efficiency ratings and longevity.
Take the EcoFlow 400W Rigid Solar Panel, for example. It features a foldable one-piece with an IP68 waterproof rating to protect against all outdoor elements, including dirt, debris, and water. The panel is constructed with an anti-corrosive aluminium frame to withstand wind speeds of up to 130 mph and a snow load of up to 113 lbs, meaning it’ll continue to capture solar energy even in harsh weather conditions.
Whether you have a Class A, B, C, or trailer, the 400 watts of power output gives you plenty of energy to power your appliances. Assuming your location receives five peak sunlight hours, you’ll receive at least 2,000 watts for each 400W rigid solar panel you install. Packed with monocrystalline cells, the panels have a high-efficiency rating of 23% so that you can charge your PPS fast.
The solar panel size is also a critical consideration. The EcoFlow 400W rigid solar panel measures 67.8 inches in length. Most motorhomes run between 19 and 41 feet in length. Assuming you place the panels horizontally, you could fit three 400W portable solar panels on a 19-foot motorhome.
Here’s how we calculated that:
- 19 feet (228 inches) = Length of motorhome
- 228 inches/67.8 inches (length of solar panel) = 3 solar panels
Furthermore, you can install EcoFlow’s 50” tilt mount bracket, which secures your panel at a tilted angle. Tilting solar panels helps maximise the sun exposure for longer than when placed horizontally or vertically.
Best Flexible Solar Panel for a Camper Van
Flexible solar panels are better for campers since they are much smaller. The flexible design allows the solar panels to mould to the camper’s roof and requires less flat surface area.
The EcoFlow 100W Flexible Solar Panel is an excellent flexible solar panel for campers where installation space is at a premium. It offers a durable design for long-lasting performance. The highly protective tempered glass and lamination coating protect the monocrystalline cells from getting damaged from inclement weather like torrential downpours.
Unlike traditional panels, which require brackets and drilling holes, the flexible panel features pre-cut eyelets that can be hung with hooks or securely fastened to the motorhome roof using an adhesive.
These panels flex up to 258 degrees and can fit the unique shape of your motorhome fit. This means you can place more solar panels onto your roof since they can seamlessly fit into the natural curvature of your motorhome. Since they only weigh 2.3kg, it’s easy to adjust and move around than traditional bulky solar panels.
The EcoFlow 100W Flexible Solar Panel has a protective case and a solar cable for universal compatibility. It can be readily connected to any third-party solar system so that you can charge up portable power stations or 48v power systems.
Frequently Asked Questions
Below, we’ll answer the most frequently asked questions about installing solar panels on a motorhome.
How Do You Attach Solar Panels to a Motorhome?
The installation depends on if you opt for rigid, flexible, or portable solar panels. You’ll need to drill holes and install channel struts for a rigid solar panel. Flexible solar panels only require adhesive tape. But portable solar panels make it even easier by allowing you to move the solar panels, place them on the ground and transport them in a convenient kickstand case.
How Many Solar Panels Does It Take to Run a Motorhome?
Most motorhome solar panels range between 100 watts to 400 watts. The number of panels depends on environmental conditions and your power consumption needs.
Let’s say you live in an area with six hours of peak sunlight. Using the EcoFlow 400W Portable Solar Panel, you’d get approximately 2400Wh daily from a single panel.
If your total power consumption is 10,000Wh for all of your appliances, you’ll need five panels to meet your energy requirements.
Is It Necessary to Use Special Solar Panels for Motorhomes?
Yes! motorhomes typically use smaller solar panels with mounting holes designed specifically for motorhomes, campers, and vans. Since they’re smaller, it allows you to fit the panels onto your roof better.

If you want more versatility, you can opt for the EcoFlow Portable Solar Panels. They feature monocrystalline cells with a 23% efficiency rating to help maximise the amount of direct sunlight received. These stands fold out, meaning you aren’t limited to using them for your motorhome — take them with you for camping, backpacking, and off-grid living.
Can You Mount Solar Panels on motorhomes Without Drilling Holes in the Roof?
Yes, it’s possible! Using corner brackets, you can mount solar panels on motorhomes without drilling holes in the roof. The combination of mounting brackets and adhesive allows for easy and fast installation. Also, you can easily remove or reposition the panels if needed.
However, adhesive and mounting brackets won’t be as secure as drilling into your motorhome roof. Therefore, you may want to consider drilling holes, especially in areas with heavy winds or severe weather.
Conclusion
With new designs in solar panels for motorhomes coming out every year, there’s never been a better time to go off-grid. Follow the instructions above to install solar panels on your motorhome and enjoy renewable energy no matter where the road takes you.