


Solar power provides an excellent path to becoming energy-independent. With a grid-tied solar power system, you can supply electricity to your home through the local utility infrastructure. In some cases, you can even generate extra energy and sell it back to the utility through net metering. If your solar array doesn’t generate sufficient power to meet your household electricity needs, on-grid electricity is there as a backup.
But what about if you want to live or travel off-grid or have a reliable home backup power solution in the event of a power outage?
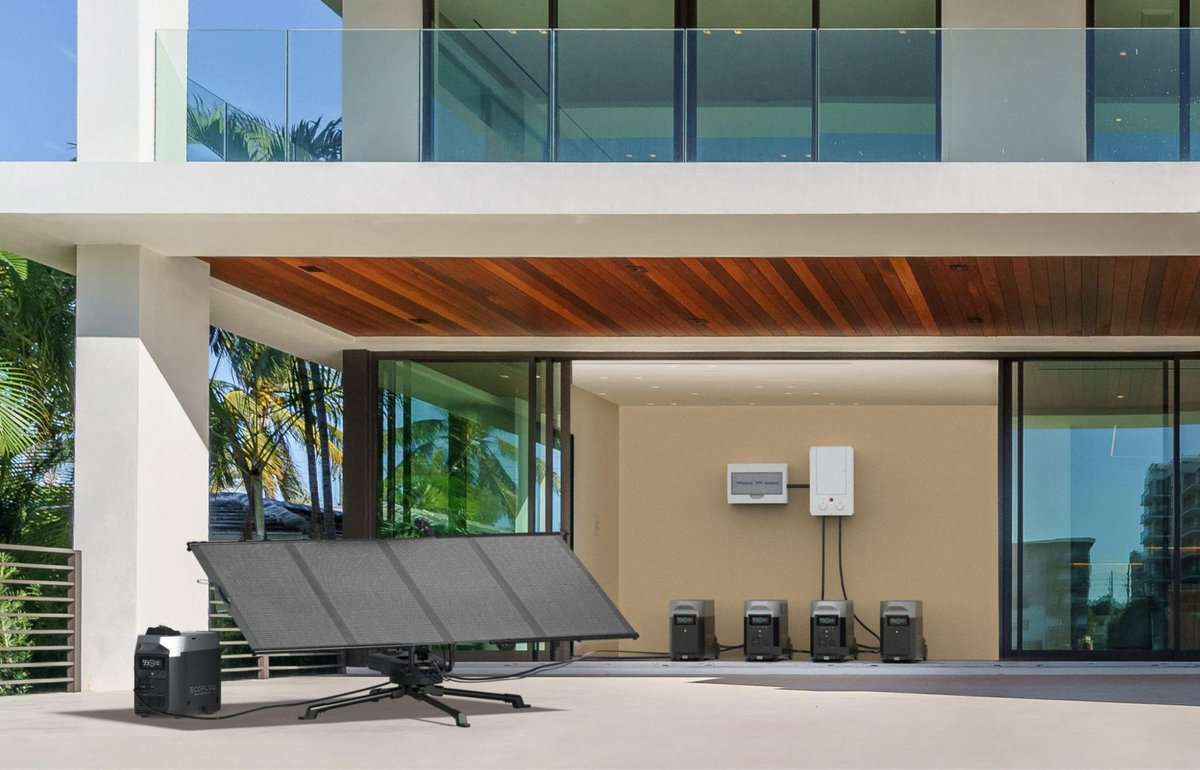
You’ll need to opt for an off-grid power solution with solar panels, batteries, and numerous other components. Luckily, the quality of products like the EcoFlow power kits has drastically improved in recent years while the prices have dropped. Clean, renewable off-grid solar power has never been more accessible.
Depending on your experience level, you can install a solar kit yourself or work with professional installers. In either case, the process and considerations are the same.
These are the steps you can expect to take for your home solar installation.

1. Determine Your Energy Needs
Before you purchase the components to build a solar power system, you need to determine how much electricity you expect to use. To do this, collect your electric bills from the past several months, and look for your average usage per month and year. Plan to purchase a system that will deliver more power than you already consume, so you can ensure you build in the capacity you need.
Once you know what energy consumption requirements you need to meet, you can shop around for the system that can deliver it. The specifics will vary depending on where you live, your home layout, and numerous other factors.
A PV watts calculator can provide a good starting point for your calculations. You should also consult with your manufacturer or a professional installer to weigh factors like the angle of your roof and the tree cover before making a final purchase. All of this helps fine-tune your assessment.
If you’re going for an off-grid power solution, your energy consumption needs will give you the clearest indication of what capacity solar panels and balance of system you need. Also, pay attention to the installation. For example, you may not want to limit your solar generator setup to your home but want to move the power source from home to RV.
Solar panels come in various builds that impact how they are installed, such as portable, flexible, and rigid. Likewise, your balance of system can come in numerous options, from home-integration models to portable power stations.

2. Inspect Your Roof
Rigid solar panels for rooftop installation are relatively lightweight and designed to last at least 25 to 30 years. Still, you should ensure that your roof structure is sound enough to hold them before installation.
While a sturdy roof should have no issues holding up your solar panels, an already-damaged roof can lead to problems. You should look for any sagging in the roof or beams, any soft spots or leaks, and any issues with the structural integrity of the walls. If in doubt, contact a professional to inspect your roof and its support structure.
If there are issues, you’ll need to address them before installing your solar panels. Any roof damage will be more difficult and expensive to remedy after installing the panels.

3. Purchase Your Solar Components
Once you know what you need, you can work with a manufacturer or retailer to identify the right components to deliver the electricity you expect to use. For off-grid solar power systems, the equipment you’ll need includes the following:
- Solar panels — the size, rated power, and number of which depend on your estimated use
- Inverter to convert power from DC to AC electricity for powering your home
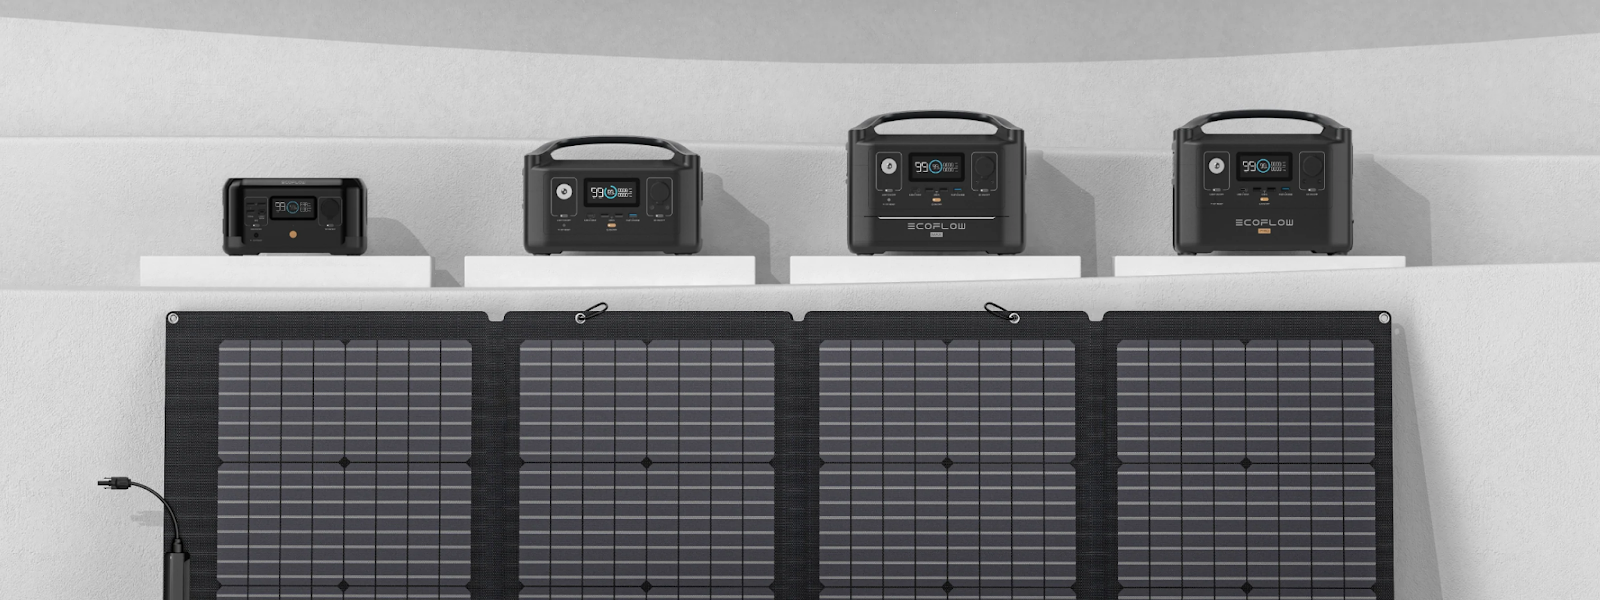
- Power Station / Solar Battery for storing energy delivered through your solar panels
- MPPT or PWM charge controller
- Cables for connecting the panels to each other, the battery, and the inverter
- Mounting hardware to affix your system to your roof
You can purchase these separately, so long as you ensure all the components are compatible. Alternatively, you can buy an all-in-one solar generator or a modular system like the EcoFlow Power Kit, which contains all the components needed — manufactured to deliver the power you need and compatible across the system.
If you’re going the DIY route, ensure you have everything you need to connect the panels to your battery inverter and the remaining balance of system.
4. Set Up and Charge Your Battery
The battery or batteries in solar power systems store the electricity your solar panels generate. Depending on the energy delivery you need, you may need to stack multiple batteries to benefit from their combined capacities.
A backup battery or Smart Generator (dual fuel) can also be helpful for you to set up an additional charging source for the solar power system. You should also charge the battery or batteries at the outset, so your system can begin delivering electricity from the start. Many power stations come with multiple charging options, such as plugging into a standard household outlet.
Once you’ve set everything up, the panels will start absorbing the sun’s energy and converting it into electricity to keep your system operating.

5. Set Up Your Panels
If you’re going for a fixed installation, you’ll most likely install your solar panels on the rooftop. Begin by determining the optimal rooftop locations and angles to capture the most sunlight throughout the day.
The sun doesn’t constantly shine on your panels during the day. It’s helpful to know when the peak sunlight hours are for your location and position the panels to take the fullest advantage.
Once you determine the best positions, create a diagram of your layout. You’ll need to take some measurements of your roof and ensure that you have sufficient space to install the panels correctly. For example, if you’re using 16 x 400W rigid solar panels, create a frame that can accommodate this many panels on your rooftop. When you have it laid out, install mounting brackets and affix the panels.
Connect the panels using cables, whether wiring in parallel or series. Optimal placement is critical for getting the most from your investment.

6. Connect Your Battery and Inverter to Your Panels
With the panels set up, it’s time to connect the battery and your inverter to the solar array.
Your battery connection likely runs through an MPPT or other solar charge controller. This component regulates the voltage, i.e., the current moving between the panels and the battery.
Check your connections and placements; this will help ensure your system functions correctly. Once everything is secure, you should be ready to move to the final step.

7. Connect Your Battery and Inverter to Your Home
The solar panels and the battery generate direct current (DC) electricity. For solar energy to power your home, you need to run the system-generated electricity through the inverter and convert it into alternating current (AC).
Depending on your chosen setup, you may have to connect the solar battery and inverter to your circuit breaker panel and fuse box to run into the home. Each connection in the breaker box will connect to different sections of your home, allowing you to send power from the solar power system into your entire house. Double-check the connections in the solar power system and your fuse box and circuit breakers before you get everything running.
Unless you’re experienced at working with electricity, it’s highly recommended that you work with a professional installer for solar power systems that integrate into your home wiring. Standalone solutions like solar generators are simply plug-and-play.

Professional Installation or DIY?
On that note, it makes sense to circle back to a fundamental question: Who should perform your solar installation?
If you’re comfortable with basic electrical wiring and have a knack for DIY projects, you may want to take it on yourself. Solar power kits like EcoFlow’s come with all the parts and instructions an experienced handyperson needs to set up the solar power system yourself.
That said, installing solar panels and the balance of system requires both understanding and precision work. A misplaced or damaged panel can cost you significantly in terms of the power you can generate for your home.
Fixed installations typically require working on top of and drilling holes into your roof. If you’re uncomfortable with making structural changes to your home (or with heights), consider portable solar panels that don’t require a permanent installation. Flexible solar panels are another option you can affix with adhesive; the only downside is that they have less capacity and a shorter lifespan than rigid rooftop panels.
For most people, having professionals complete the installation makes more sense. Their expertise in installing a solar power system typically comes insured and bonded in case something goes wrong.
Conclusion
Connecting your solar panels to your home can seem like a reasonably straightforward process. EcoFlow can provide you with all the components you need to build a Smart Home Ecosystem, along with installation instructions. Still, getting professional installation help is often a good idea if you’re unsure or lack experience.
EcoFlow partners with reputable third-party installation experts to ensure you get the reliable help you need. Contact EcoFlow today and let us help you meet your home solar power needs.