
Table of Contents
Motorcycle lovers take pride in their bikes, including properly caring for them and all their components to ensure efficient operation and a smooth ride. The motorcycle battery is a fundamental piece of the machine—without it, your motorcycle won’t start. These batteries require care and may occasionally need to be charged if weakened or dead. Luckily, you can easily charge a motorcycle battery at home with the right charging tools.
In this article, we’ll help you understand your motorcycle battery type, the symptoms of a weak or dead battery, how to charge it, and tips for charging and aftercare.
Understanding Motorcycle Batteries
Before starting the charging process with your motorcycle battery, you must understand the tell-tale symptoms of a weakening or dead battery and the type your bike uses.
Battery Types
Motorcycles typically run on one of these three common cell types:
- Lead-Acid Batteries: Conventional lead-acid batteries are among the most popular because of their reliability and affordability. However, they require maintenance and occasionally must be topped up with distilled water.
- AGM Batteries: Maintenance-free Absorbent Glass Mat (AGM) batteries are sealed and have a longer lifespan than conventional batteries. They’re also more resistant to motorcycle vibrations.
- Lithium-Ion Batteries: A lightweight and energy-efficient option, deep-cycle Lithium-ion batteries, such as LiFePO4 batteries, are often used in high-performance motorcycles due to their impressive energy-to-weight ratio.
Signs of a Dead or Weak Battery
You only need to charge your motorcycle cell if it’s weakening or dead. Here are the most common symptoms to look out for:
- Dim Lights: If your headlights dim or flicker when starting up or your dashboard lights are having trouble staying on, it’s likely a sign of a weak battery.
- Slow Cranking/Trouble Starting: If your engine struggles to crank or turn on fully, your cell is likely weak or dead.
- Clicking Sound: Does your bike make a clicking noise when attempting to start it up? Your battery is not providing enough power.
- Complete Silence: If you hear nothing but complete silence when turning the key to start, your cell is probably dead.
How To Charge a Motorcycle Battery in 10 Steps
You’re just ten simple steps away from a fully recharged motorcycle battery. Here’s what to do.
1. Prepare Safely
Always prioritize safety with the right preparation measures. Before starting the charging process, wear protective gear, including safety glasses and gloves, to avoid electrical issues or potential acid splashing. Find a well-ventilated area to disperse escaped gases that may come out during charging.
2. Get the Right Supplies
Next, gather the appropriate supplies and tools for charging. You’ll need wrenches or sockets to remove the cell terminals, a battery terminal cleaner set (cleaner and brush) to remove corrosion, and distilled water (if you have a conventional lead-acid cell).
3. Choose a Charger
You can’t charge your bike’s battery without the correct charger. Choosing the right charger will allow for safe and efficient recharging. If you have an AGM battery, use a product designed for this type, with an automatic shutoff to avoid overcharging. For a conventional battery, you can use the same battery or a basic charger with adjustable voltage settings. Lithium-ion batteries will need a charger designed for this specific chemistry because they require a unique charging profile.
4. Locate the Battery
Now that you’re prepared with the correct charger and tools, you need to find and remove the battery from your motorbike so you can charge it. Depending on your model, it may be located under the seat or behind the side panels. Use your bike’s manual for further instructions.
5. Disconnect and Remove the Battery
Once you’ve found it, use your wrench or socket to disconnect the negative terminal first and then the positive terminal. Doing it in this order will prevent accidentally short-circuiting the battery. Once it’s disconnected, you can carefully remove it from its housing area. Be careful not to damage any connections or wires when doing this.
6. Attach the Charger
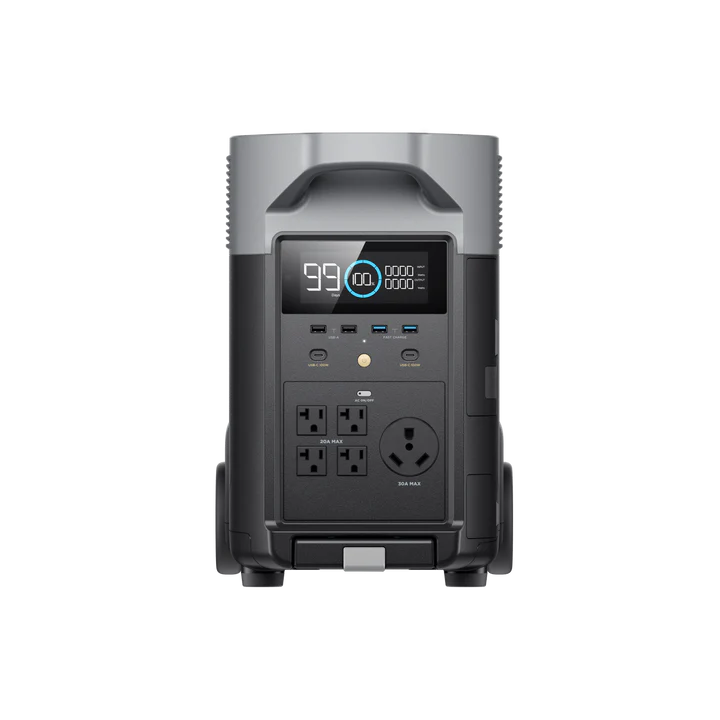
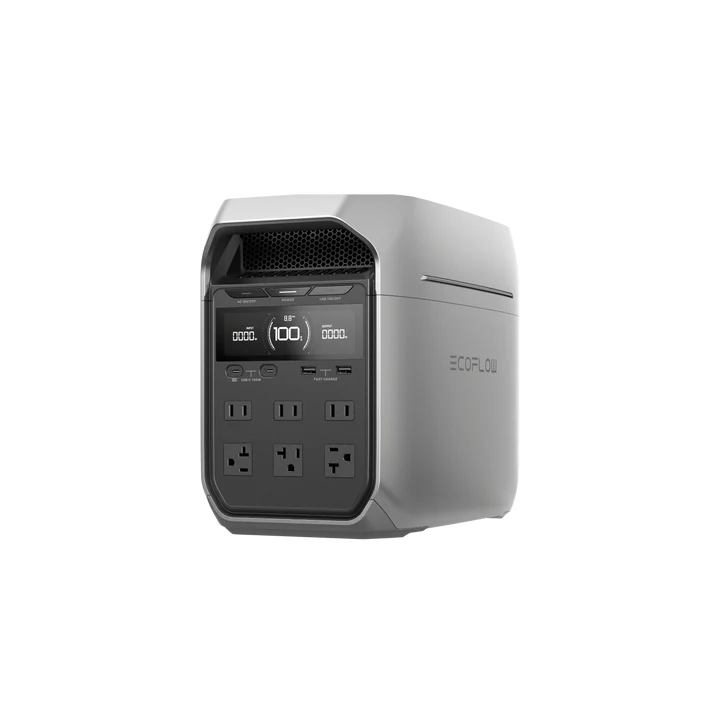
Next, you can attach your battery to the charger and connect the charger to a power source. You can use an AC outlet or a portable power station for convenient outdoor or portable charging. All EcoFlow Portable Power Stations can charge a motorcycle battery, including the EcoFlow RIVER 3 Series Portable Power Stations, but for faster charging, we recommend using EcoFlow DELTA Series Portable Power Stations. The EcoFlow DELTA 3 or EcoFlow DELTA 3 Plus are your best options for an efficient experience.
When connecting your cell to the charger, connect the positive terminal first (red clamp) to avoid short circuits, then connect the negative terminal (black clamp).
7. Set the Charger Voltage and Mode
Next, set your charger to the correct charging mode and voltage, using the battery’s specifications as guidance. Most chargers will have automatic settings for your cell type.
8. Start Charging
You can now turn your charger on and begin the process. Keep an eye on the display to monitor progress and avoid overloading it. If you notice an error indicator or warning light, unplug your battery immediately and determine the issue before reconnecting it.
Allow it to charge fully, but avoid going any further because it can create damage and reduce your battery’s lifespan. Check whether your charger has an automatic shutoff feature; if not, check it at predetermined intervals to gauge the status.
9. Reinstall the Battery
Once it’s fully powered up, you can disconnect it by removing the black clamp from the negative terminal and then removing the red clamp from the positive terminal.
Then, reinstall it back into your motorcycle and secure it in place. Re-attach the positive cable and then the negative cable to take good care of your battery.
10. Determine What Went Wrong
Try to determine the cause of your weakened or dead cell. Have the temperatures been cold lately? Has the motorcycle been sitting in storage for a while? Is the battery several years old? All of these can be culprits. However, if your battery is relatively new and you were riding your bike just before it died, you may have a parasitic draw or an issue with your bike’s internal charging system. Aim to fix the root cause of the problem so you can avoid the same thing happening again.
Motorcycle Battery Charging Tips & Aftercare
- Check your battery periodically for signs of damage, corrosion, or loose connection.
- Consider using a battery maintainer to keep your cell charged and healthy if you don’t ride often.
- Avoid full battery discharges, which can reduce the overall battery lifespan. If your motorcycle must be stored for an extended time, use a maintainer or disconnect the cell.
- If you notice a decline in your battery’s capacity or performance, it’s a sign that the battery needs replacement.
- Check and clean your terminals at least annually or after driving every 5,000 miles.
- If you have a lead-acid model, you may need to occasionally top it off with distilled water to keep it working properly.
- Load-test your battery at least once a year.
- When not in use, keep your bike at room temperature and look for shaded parking spots.
- Always follow your manufacturer’s instructions when starting the charging process; check for any warnings or precautions.
- Turn off your charger immediately if the cell becomes hot to the touch, starts smoking, or creates sparks.
- Use a trickle charger to maintain health and avoid overcharging.
- Disconnect and reconnect safely. The negative terminal should be disconnected first and reconnected last, while the positive terminal should be disconnected last and reconnected first.
- Ground the charger to a metal object, like a grounding rod or engine block, to prevent electrical surges.
Frequently Asked Questions
You should always charge your motorcycle battery at 2 amps instead of 10 amps because it’s much better for its lifespan. It produces less heat and prevents overcharging damage. A higher amperage generates too much heat and can actually cause harm.
Yes, always disconnect your battery from the motorcycle before charging it. This best practice allows you to avoid potential damage to your bike and electrical mishaps. Most bike manufacturers will instruct you to always to disconnect the negative terminal before the positive ones disconnect the negative terminal before the positive one.
It’s usually safe to leave your motorcycle battery connected to the charger overnight, as long as it’s a trickle charger of 2 amps or less. If your charger has an automatic shutoff feature, this provides additional safety as well by avoiding overcharging, which can cause damage and pose risks of overheating.
Final Thoughts
Motorcycle battery charging is essential to bike maintenance, but it must be done safely and correctly to avoid causing further damage. Always follow your motorcycle manufacturer’s guidelines when charging and disconnect the cell entirely from the bike before attempting to charge it.
Use an open, ventilated area, and wear safety goggles and gloves to protect yourself. Remember: the black terminal is first to be removed and last to be reconnected. This order avoids short-circuiting and protects both you and your battery.
For enhanced safety, connect your charger to an EcoFlow Portable Power Station. This allows you to be outside where it’s safe, and you can even bring your PPS with you, giving you the freedom to charge anywhere without slowing down your adventures.