
Table of Contents
Installing solar panels yourself can save you thousands of dollars while giving you more control over your renewable energy system. You can easily set up a DIY solar system if you’re comfortable with basic construction, running power tools, and electrical wiring.
This guide will walk you through every step, from determining how much energy you need to assessing your home’s energy generation potential. It also covers the necessary basic installation steps, from installing the mounting systems and panels to connecting them to your household electrical. With the right tools and preparation, you can harness the sun’s power and reduce energy costs today. Let’s dive in.
Can I Install a Solar Panel System Myself?
Absolutely. If you’ve ever done a home renovation project, you can do DIY solar panels, also called photovoltaics. If you’re comfortable climbing on your roof for roof-mounted systems, have some basic construction skills and knowledge of using power tools, and can do basic wiring yourself or are willing to learn, you can save thousands of dollars by installing it yourself.
Most people find the wiring the most challenging because they don’t know how to do it safely. Wiring photovoltaics is relatively easy but not something that should be taken lightly. If you’re uncomfortable doing this part yourself, you can always install the mounting brackets and panels yourself, which takes the most time anyway. Then, hire a professional electrician to connect the wiring to your household electrical panel—this is the safest DIY choice for anyone who’s never tackled electrics before. You’ll have to pay the electrician, but the wiring part takes little time compared to the installation, so the cost of DIY photovoltaics, even if you hire an electrician, is less than paying a professional installer to do all the work.

How to DIY a Solar Panel System for Your Home
The following is a complete list of all the general steps needed to install your DIY home photovoltaic array.
1. Assess Your Home’s Solar Potential
First, you need to assess how much energy you can produce. This depends in part on how big your roof is since it’s often the best location for photovoltaics, as they usually receive the least shade there. However, in cases where the roof is too old, you will need to look for a location for a ground-mounted setup.
It’s not only about space, however. You need an open area with direct sunlight for most of the day. Any shade will seriously limit your maximum output, so you should avoid shade at all costs. A location with southern exposure and no shade is best for those in the Northern Hemisphere, followed by east or west.
2. Determine Your Energy Needs
Next, you must determine how much energy your panels need to produce to meet your energy needs. You can get this from your electrical bills. If you are going off-grid, you should look at your maximum consumption to determine how much you need. For on-grid systems, you can add up your monthly bills for a year and then divide by 12 to determine your average consumption, then decide how much of your consumption you want photovoltaics to cover. In either case, your energy requirements will help you calculate how many solar panels you need for your home.
3. Obtain Permits
Since installing your photovoltaic array involves construction and electrical work, you typically need to obtain permits from your local authorities. What kinds of permits you need will vary depending on your location. If you live in a community with a Homeowners Association, you may also need their permission. Spend some time researching potential permits before purchasing your system to avoid additional costs if you are required to install it a certain way.
4. Choose Your System
Now that you know your energy needs and have chosen where to install your array, the fun part is choosing your DIY photovoltaic kit. Look for one that will produce the energy you need, and decide if you want batteries to go with it. You will need batteries for any off-grid or home backup system. If you are getting a solar generator with batteries, ensure your battery storage matches your photovoltaic array size and your energy needs.
Also, the types of photovoltaics are equally important. For instance, EcoFlow Rigid Solar Panels are the best choice for roof and ground-mounted systems, with the EcoFlow 400W Rigid Solar Panel being the primary choice.
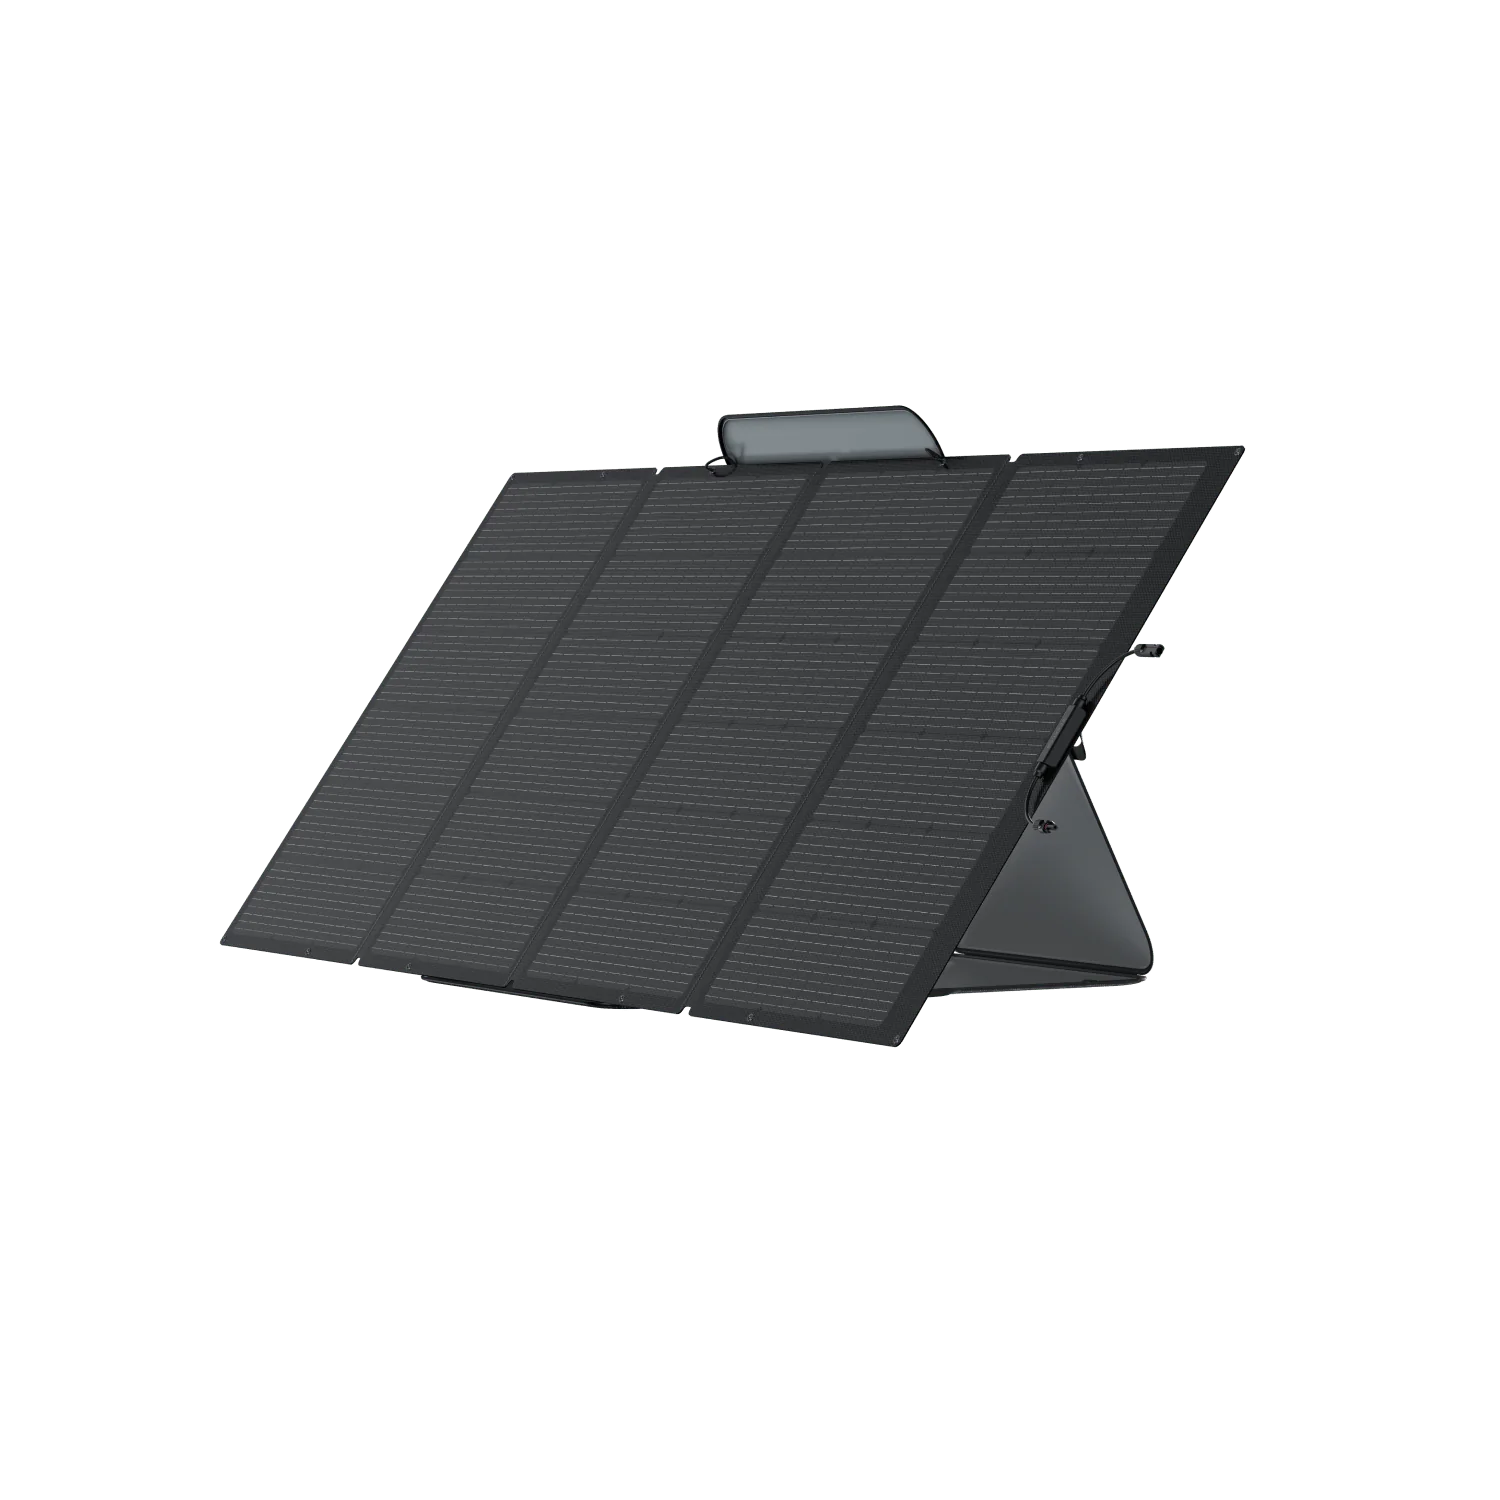
For those with limited sunlight, EcoFlow Portable Solar Panels offer additional options. You can set up an EcoFlow 400W Portable Solar Panel in your yard and move it around as needed throughout the day or seasons to optimize your output. You can even hang it from a balcony. If you have a particularly challenging situation, you may want to add some bifacial photovoltaics that collect sunlight from both sides.
5. Assemble Your Tools
Before you get started, you will need the following tools and safety gear:
- Hand tools
- Measuring tape
- Sturdy ladder
- Power drill
- Saw
- Extension cord
- Pry bar
- Caulk gun
- Safety glasses
- Work gloves
- Hard hat
- Harness and lanyard for fall prevention
6. Buy Additional Components
Be sure your DIY kit has a racking system, monitoring, charge controller, and inverter. However, you may need a few additional components, including wiring, conduit, fittings, and breakers. Sometimes, junction boxes and a sub-panel are required, and cement and extra hardware are necessary for ground-mounted systems.
7. Install the Mounting System
Now that you have all your gear, you can start the installation. For roof-mounted photovoltaics, locate your roof rafters, which will be the foundation for your array. If they are not visible, use a stud finder and mark them with chalk so you know where to install your rails. Next, bolt flashing to the rafters and caulk it to prevent leaks. Then, bolt the racking rails to the flashing.
With ground-mounted photovoltaics, you must build a standalone metal foundation consisting of posts buried at least 18” deep into concrete footings. Once you place the posts in the concrete, allow it to set for a week before you attach your racking rails. You must also bury your wiring underground in a conduit; check your local codes for their requirements. Once this is all set, secure the racking rails on the support structure you built.
8. Install Inverters
If your setup uses microinverters or your portable power station doesn’t have a built-in inverter, you must install these components next.
9. Install the Panels
Now, installing the panels is easy; simply use the clamps that come with the racking system to attach your EcoFlow Solar Panels to the rails. For roof-mounted systems, be sure to hook up the connecting wires before bolting the panels to the rails, as the connections will not be accessible once the panels are installed.
10. Install the Battery
If your system has a battery, you will want to set that up now. Ensure you put your battery in a cool location protected from temperature extremes; a garage is often used. Install the AC wiring from the power station, which will go to your household electrical (or from the inverter if yours is separate), but do not connect it to your home just yet. The DC wiring goes from the panels to the battery. Always read your manufacturer’s instructions for more specific installation instructions and requirements.
11. Connect the System to your Household Wiring
Now that everything is in place, the final step is to connect the wires from your inverter or power station to your household electrical. Again, this may vary with your system type, so read your manufacturer’s instructions. If you’re at all unsure about hooking anything into your home’s electrical panel, hire a professional electrician for this final step to ensure your safety and that of your photovoltaic array.
That’s it. Now, sit back and enjoy free renewable energy from the sun.
Things To Consider Before Choosing to DIY Solar Panels for Your Home
- Technical Ability: Do you have the construction and wiring skills to complete the job, and are you comfortable on a roof?
- Energy Needs: How much energy do you need to produce? This will determine the size of the array.
- Local Regulations: Are photovoltaics allowed at your location, and what permits do you need?
- Space Availability: Do you have the space, and where is it best installed?
- Suitability of Your Roof: Is your roof too shaded or old to support photovoltaics?
- Available Sunlight: How much sunlight do you have? This will also determine how many panels you need.
- Solar Incentives: Certain incentives may not be available in some locations if you DIY.
Frequently Asked Questions
If you have the technical ability, installing your system is much cheaper. However, purchasing a DIY kit is best since designing it from individual components may not save you much money. Most solar generators have built-in charge controllers, inverters, and other essential components; buying those separately adds cost.
Final Thoughts
DIY photovoltaics are a cost-effective and rewarding way to generate your own clean energy, reducing or eliminating your monthly electricity costs and increasing your energy independence. With careful planning, the right equipment, proper installation, and paying careful attention to safety precautions, you can power your home safely and sustainably.
Whether you choose roof-mounted or ground-mounted systems, investing in high-quality components like EcoFlow Solar Panels ensures long-term reliability and efficiency. Now, get ready to start your solar journey today and join the clean energy revolution.