
Table of Contents
If you’re planning a road trip in your brand-new camper van, there’s nothing quite as rewarding as investing in some DIY projects to make it feel uniquely your own. There are tons of worthwhile DIY projects for you to invest in that will help take your campervan experience to the next level.
No matter your overall budget, there are some great DIY projects for you to undertake, and we assure you that they will be worth your time.
Are you ready to make your campervan into something you can be proud of? Let’s get started.
1. Buy a Campervan
First and foremost, you need to acquire the van of your choosing. This is the most important step in the process, as you must invest in a van within your means to DIY and personalize.
Some vans are road-ready, while others may need a bit extra TLC. If you are looking to do some in-depth renovations, you may benefit from purchasing a van that has a blank slate to work with. If, on the other hand, you are working under a tighter budget and want to limit your DIY project costs, it may be in your best interest to get something with a more solid starting foundation.
Do your research and see what types of projects you feel comfortable undertaking on your own. Allow that to guide your purchasing decision in this important process. Make sure to shop around and do your best not to buy the very first van that you see. Ask around and make sure to make an informed decision. Once you have found your perfect campervan, the real fun can start.
2. Gut and Clean the Van
This is the best option for those who are looking for a fresh start in their new campervan. If you, on the other hand, want to skip the gutting process and move on to some simpler DIY projects that can be added to the existing layout, feel free to skip ahead to some of the next steps.
Gutting and cleaning out your campervan is an important step in the DIY process. This will help you get a good feel for the foundation you are working with and remove any dirt and grime that may have been collected over previous years of use.
You can either rip out the interior pieces yourself or hire junkers to do the job for you. Once all of the interior items and furniture have been removed, you should have them detailed or, at the very least, take some time to do a deep scrub on all of the newly exposed surfaces.
A thorough cleaning will ensure you’re starting on a clean slate and won’t have to worry about mildew, mold, or dirt finding its way into your new installations.
Once the interior of your van looks clean and shiny, you are ready to tackle the next step.
3. Design the Layout
Now that you have a fresh perspective of the foundation you are working with inside of your van, it will be much easier to make your plans for moving forward. Design plans are super important and can help save you money in the long run, so don’t try to rush this phase. Taking your time to plan, measure, and calculate may seem daunting, but it is well worth it in the big scheme of things.
The first step in designing the layout of your campervan is to take measurements. Get a good feel of the space you are working with and make sure to take into account how much free space you would like to have when the van is in use.
It can be easy to get a little buy-happy when choosing the layout, but you need to remember that you are the one who will be spending the most time in the van. Make sure you are planning a layout that is functional and suited to your needs.
Start by selecting a location for your bed and/or lounging area. This will likely take up the most room and should be the first piece of the puzzle that is selected. Working around this item is easier than trying to add it in after the fact.
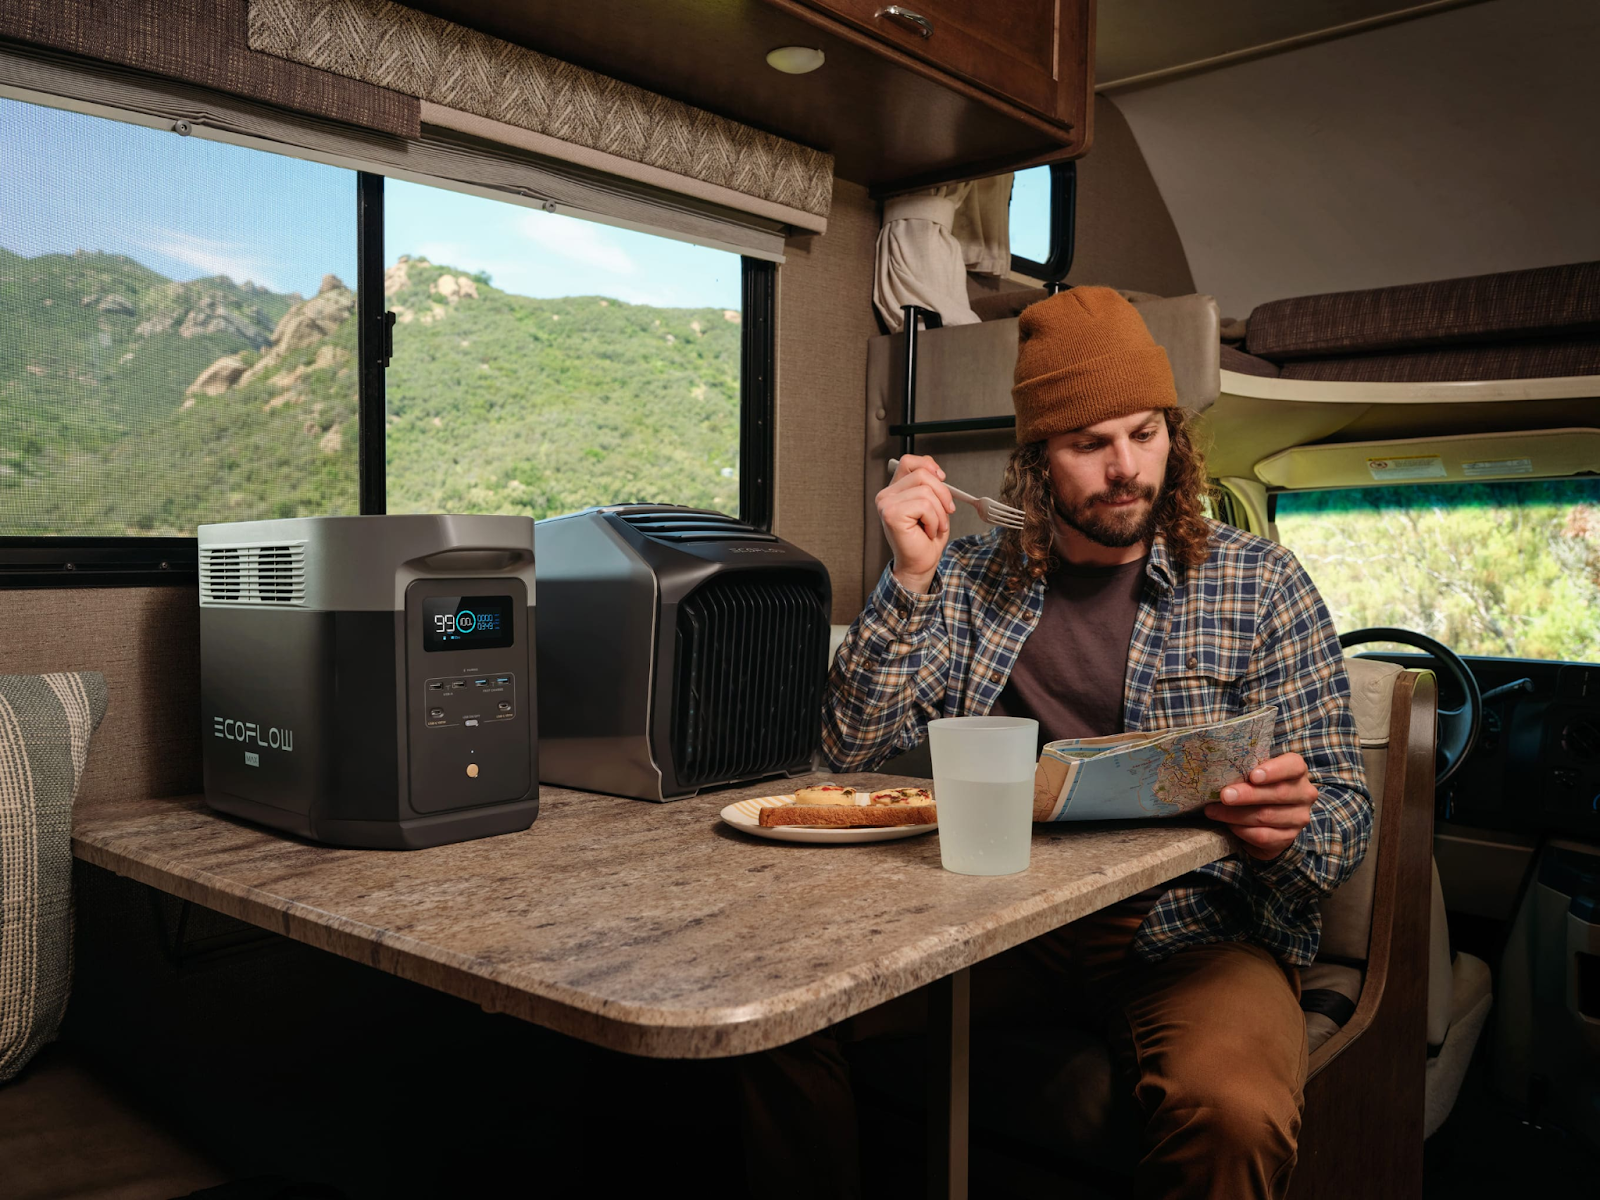
From there, you can start picking and choosing the additional pieces that will fit the best and get the most usage. Items like the EcoFlow Wave 2 Portable AC and EcoFlow Glacier Portable Refrigerator are great additions that won’t take up too much space and will help to make sure the campervan experience is a pleasurable one.
4. Set Up Electric and Plumbing
Now that you’ve selected all of your furniture, you’re ready to move on to one of the most essential additions to your DIY camper van: electric and plumbing.
While these additions are technically optional, they can transform your overall camping experience and allow you to explore independently.
Unless you’re an electrician or plumber, this is a job that is best left to the pros. Installing these items incorrectly can not only be an inconvenience for you, but it can also be very dangerous. Reach out to your local handyman and ask their opinion on what type of power can be used in your van and see if they are able to get the job done for you.
Having electricity and plumbing installed on your van will give you the freedom to go anywhere at any time. You will not have to rely on nearby campsites for running water, as you will already have access to it in the comfort of your own van. This installation will make your trip all the more memorable without the need for unnecessary stops.
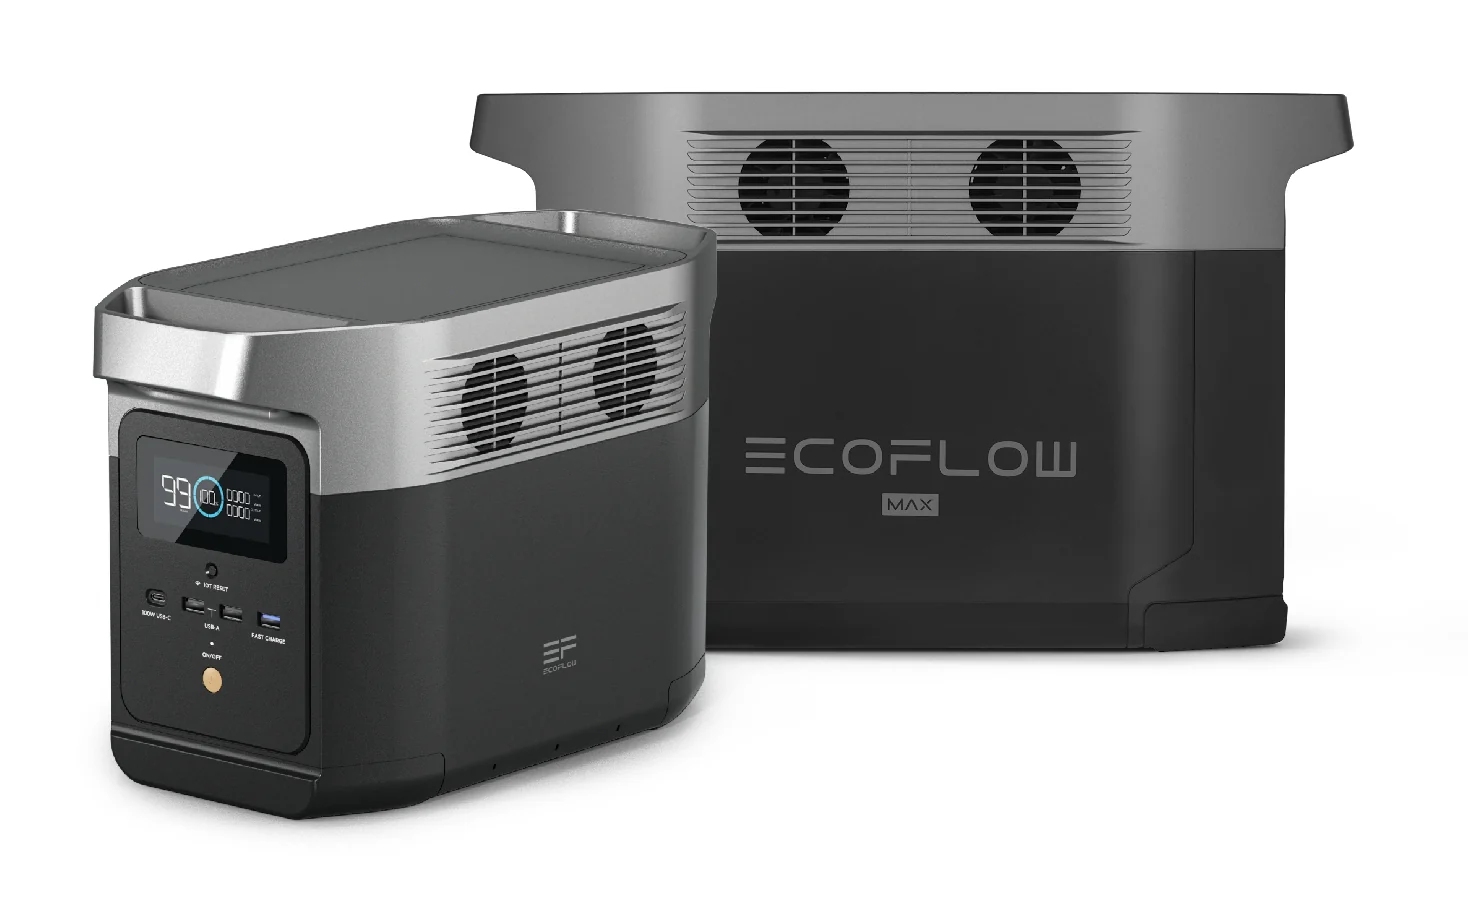
If you would like access to power, though you aren’t necessarily ready to commit to a complete electric installation, you have other options. EcoFlow Solar Generators, like the EcoFlow DELTA Series Solar Generators, are great power solutions that will allow you full access to power when parked at your destination. These units are easy to set up and can store tons of solar energy to supply a reliable power source to you and your crew when out on the open road.
5. Insulate the Van
Depending on where in the world you plan to travel, this step could make a massive difference in your comfort level. Insulating a van is a great idea in all seasons and will actually help you save money in the long run—here’s how.
Without insulation in your campervan, you’re running a high risk of condensation forming. The formation of condensation throughout your van may not seem like a cause for concern, but over time, this could cost you time and money.
Condensation, especially in warmer climates, is a warning sign for worse things to come. Mold, mildew, and even bugs tend to find their way to dark and moist locations. Without proper ventilation inside your van, you may be left with a mold mess to clean. This could require you to replace cloth items or even get the whole van and start from scratch. We highly recommend insulating the van as soon as you get it to avoid this at all costs.
Insulation can also help maintain the interior temperature of your van. If you are traveling in extremely hot or cold climates, you will welcome anything and everything that helps to regulate the temperatures inside your van for a comfortable overnight experience.
Insulation is important and should be considered as you work through your DIY projects. If you are not comfortable installing this item yourself, feel free to reach out to a local professional for help.
6. Install Back-Up Power Solutions
Even though you may have already installed electricity into your camper van, we highly recommend installing backup power solutions as well. Items like the EcoFlow Power Kits are compact yet powerful additions to any campervan and will make a world of difference when you are out traveling.
For safety reasons, it is vital to have access to a power source no matter where you may find yourself. If you were to run out of gas at any point on your expedition, your installed electricity wouldn’t do too much good. On the other hand, backup power sources are reliable and designed to be used in cases like this.
These are great items to have in case of emergency and should be high on your list of priorities to install when outfitting your DIY campervan.
7. Set Up Lighting and Appliances
Once your electricity and backup power solutions are installed, you can add any lighting and appliances you will need for your travels.
Suppose you are planning on living on the road for an extended period of time. In that case, you may benefit from installing some cookware and bathroom appliances to give yourself added freedom and independence while traveling.
It’s essential to consider the amount of space you are working with during this step. Don’t overdo it by adding too many items at once, as this may make your space feel cramped and uncomfortable. Take your time and make informed decisions based on the measurements you took earlier, and you are sure to develop a perfectly functional interior space.
8. Decorate and Personalize Your Space
Now that you have all the necessities in place, it is time to have some fun and decorate the space to make it feel like your own. Consider adding some fun paint colors or even wallpaper to the exposed surfaces in the van to add a touch of personality and make it feel like a space you would enjoy spending some time in.
This is your chance to add your unique touches and dive into the DIY feel, so have fun and take your time making your campervan a space you can be proud to call your own.
9. Set Out on the Open Road
Congratulations—you’ve officially finalized your perfect DIY campervan. All of that hard work has paid off, and you’re now left with an end result to be incredibly proud of. Once your final DIY project is completed and you put some gas in your tank, you’re ready to hit the open road and head out to your first destination.
Wherever you plan on heading first, be sure to bring along an EcoFlow Power Kits 5kVA. This nifty power solution will save you in a pinch by powering each device in your vehicle and is easy to store in your newly outfitted camper van.
Frequently Asked Questions
Some great campervan accessories on the market are guaranteed to make your traveling experience all the more enjoyable. Installing backup power solutions can help you go even further off the grid while still connecting to what is essential. Decorations and personalization items are also great accessories that can make your campervan feel like a home away from home.
Final Thoughts
If you have made it through this guide, you are one step closer to having the campervan of your dreams. These steps are designed to help you tackle some relatively simple DIY projects, which should help you in the planning phases as you work on designing the perfect campervan for your needs.
Interested in learning more about how backup power solutions can enhance your campervan experience? Check out the EcoFlow Power Kits, the perfect addition to any campervan.