When the power goes out, the last thing you need is to get caught without a source of electricity.
A portable power supply is essential for emergency blackouts and outdoor activities like camping.
With backup power, you can store electric energy to run your appliances and devices. And portability ensures you can take it wherever you need it, whether to an evacuation shelter or just to go into the wild on a camping adventure of a lifetime.
Getting the most out of a portable power supply doesn’t have to be complicated. Here’s how to maximise your portable power supply in 10 easy steps.
Step 1: Pick Your Power Solution
Not all portable power solutions will suit your needs. There are multiple compact power solutions, such as solar generators, fossil fuel generators, and portable power stations.
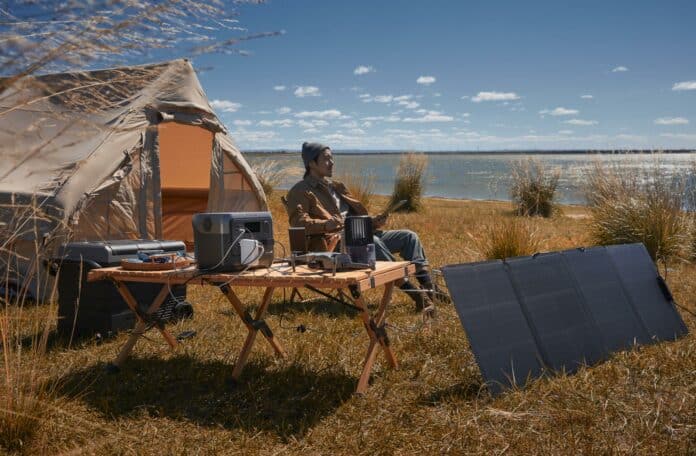
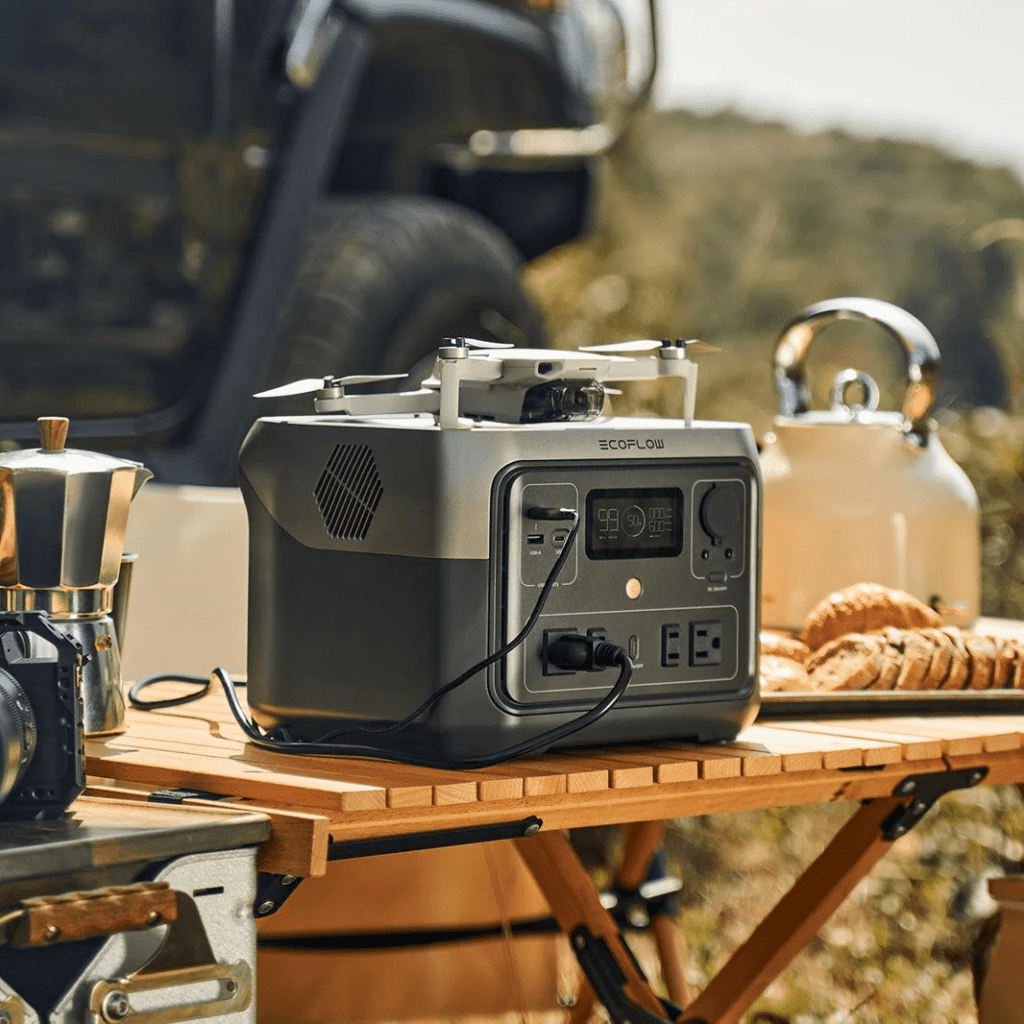
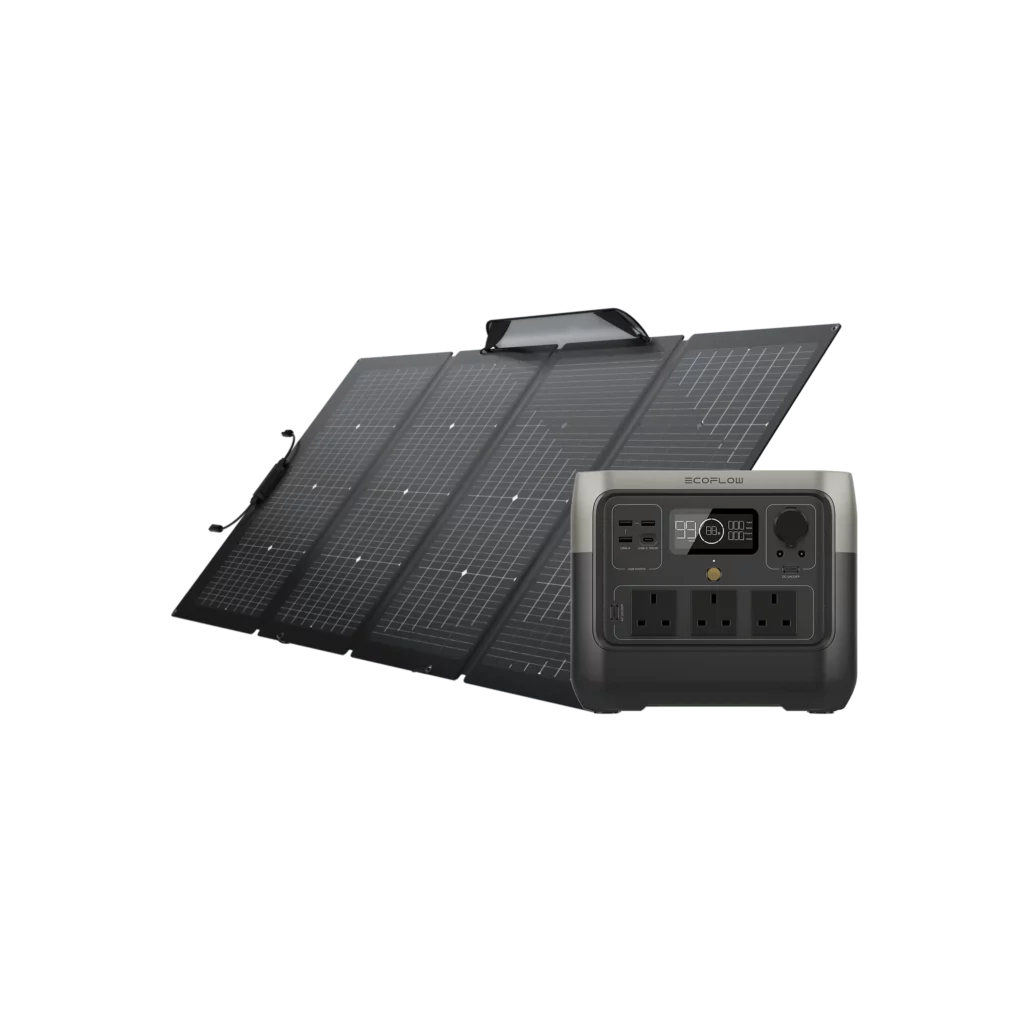
The EcoFlow River 2 Pro with the 220W panel is an example of a robust portable solar generator for use on the go. The 220W solar panel generates solar energy, which it stores in the 768Wh battery. That capacity is enough to charge most of your electronics and even appliances like a coffee maker, freezer cooler, or refrigerator.
At a mere 17.2 lbs (7.8 kg), the River 2 Pro is highly portable and perfect for camping, fishing, and off-grid adventures. The LiFePO4 battery makes it highly efficient and gives it a much longer-lasting life than other battery types.
Gas and diesel generators also generate electricity, but they do so using fossil fuels. Both produce carbon monoxide and harmful greenhouse gases, so you can only operate them outside. Portable power stations (PPS) don’t generate energy by themselves but can store electricity from numerous sources, such as AC wall outlets or solar panels. In many ways, a PPS is like a very smart, very powerful rechargeable battery.
Step 2: Choose the Right Battery Capacity
Solar generators and portable power stations store energy in a battery.
Battery capacity, lifespan, portability, and features are essential when looking for a portable power supply.
First, consider how much electricity you need, usually measured in watts for appliances and devices. There are plenty of different battery capacities and compositions on the market, so thoroughly research before making a purchase.
Let’s say you’re camping and need energy for the following:
- Cooler (50 watts)
- Electric grill (75 watts)
A setup like the EcoFlow River 2 Max plus 160W solar panel has a battery with a capacity of 512 watts. It’s more than enough to run your cooler and electric grill for over four hours.
With the 160W portable solar panel, you can go off-grid without worrying about finding the next campsite shore power hookup.
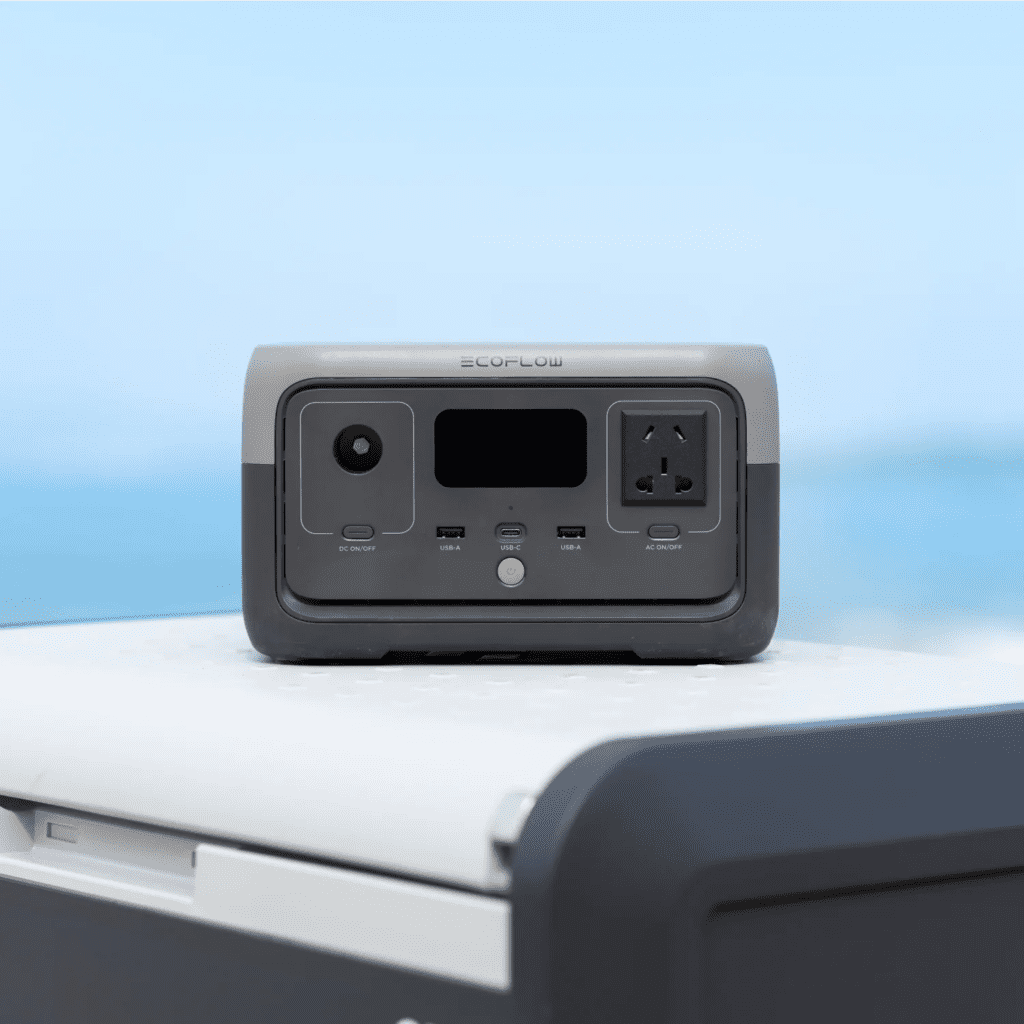
That said, you might not need that much power if you only need to charge a few personal electronic devices like a smartphone and laptop. In that case, the EcoFlow River 2 with a 110W solar panel with a 256Wh capacity is more than enough.
If you’re hoping to purchase a portable power supply that generates clean, renewable energy, finding the best solar panels is also important. Look for monocrystalline panels, like the EcoFlow Portable Solar Panels. Monocrystalline panels maximize efficiency to capture the most amount of energy possible.
Your solar panels should also be dust and water-resistant if you’re building a power supply for outdoor activities like hiking and camping.
Step 3: Read the Manufacturer’s Instructions
Once you’ve chosen your power solution, you can begin the installation and setup process.
Like any electrical appliance, it’s crucial to read the user manual for each component in your portable power supply. Carefully following the instruction guide prevents you from making costly mistakes. Get to know all of the components before using them.
Step 4: Make a Diagram
If you’re installing an off-grid power supply in your RV or motorhome, it’s a little more complicated than a plug-and-play portable solar generator.
Eliminate the guesswork for putting complex components together by making clear diagrams of wires, placement of the power station, solar panels, etc. As always, it’s better to measure twice and cut once.
A diagram is particularly helpful for putting together a robust off-grid power solution like the EcoFlow Power Kit, where you have multiple components, including the power hub, batteries, AC/DC distribution panel, and charge controllers. You want a smooth installation process to avoid wiring mistakes. While the power kit will remain stationary after installation, it’s portable because you can install it onboard a motorhome, van, or camper.
Step 5: Gather the Tools Needed
Gather all the necessary components to install your portable solar power supply successfully.
You’ll need the following:
- A portable power station
- Solar panels
- AWG wires
- Charge and connector cables
- Parallel connection cable (optional)
You may need additional tools like a drill or level if installing a stationary unit, such as the power kit. However, most portable power supply solutions should come with the necessary components for installation, including wires and connector cables.
Step 6: Charge Your Power Station
You’ll need to charge the battery before use. In most cases, portable power stations will arrive in the box partially charged to approximately 30%. That allows you to test the product upon opening the package.
However, before using the PPS, you want to charge your battery fully. It’s especially critical that you have a sufficient energy supply if you’re planning an extended off-grid adventure. EcoFlow’s portable power stations offer multiple charging options, including solar, household AC power, car adaptors, and even EV charging stations.
Step 7: Connect Solar Panels to the Portable Power Station
If you’re planning to use solar energy for your portable power supply, you’ll need to attach the solar panels to the PPS.
Let’s say you’re setting up the EcoFlow Portable Solar Panels with a River 2 Pro Portable Power Station. Here are the steps to connect the panels to the PPS.
- Connect the male connector of one solar panel to the female connector of the solar panel.
- Connect the solar panel using the Universal Solar Connector to the XT60 cable. If you’re connecting two solar panels, you’ll need to use the parallel connection cable (sold separately) to connect the panels to the solar connector port.
- Connect the XT60 to the XT60 input on the River 2 Pro PPS.
Always refer to the user manual for specific instructions on connecting a solar panel to your PPS.
Step 8: Connect the Inverter to the Portable Power Station (Optional)
In some cases, you may need to purchase an inverter. An inverter changes the direct current (DC) from the solar panels into alternating current (AC). AC is what most household appliances and devices use.
This step may be unnecessary because top-of-the-line portable power stations, like EcoFlow’s, have built-in inverters. Having the inverter, solar battery, and charge controller all in one compact unit greatly streamlines the setup process.
Step 9: Consider Other Recharging Sources
There are typically multiple ways to charge a PPS. The fastest way to charge a PPS is by plugging it into a regular AC wall outlet. Typically, this offers the most rapid charging speed, and some EcoFlow models can fully charge in under one hour.
Another way to charge your power station is by plugging it into your car charger. If this is an option with your PPS, you should get a car charging cable in the box. Insert the cable into your car charging port and wait for the PPS to charge.

Step 10: Test the Portable Power Solution
The battery capacity will display on the LCD screen. It’s best to test your product and check the battery capacity, charging rates, and other functions before heading out with your portable power solution.
If you have the latest generation of solar generators from EcoFlow, you can also use a smartphone app to monitor your energy usage and the portable power station’s charge rate.
Building a Case for Your Portable Power Supply
Your portable power station and solar panels may come with cases. If not, it can be advisable to build a protective case. When travelling in inclement weather with your portable power supply, such as camping or fishing, you want to protect the solar generator from heavy winds and rain.
Additionally, a case protects your equipment from squirrels, rats, and even pets that may chew the wires. When wires are exposed, they’re more likely to be damaged.
Let’s look at building a simple PPS enclosure:
- Construct the frame. Measure your PPS unit, including its height, width, and length. Then saw out wood components using 2×4 lumber.
- Build the base of the enclosure. It has to withstand the weight of the PPS.
- Create the four legs of the shed and assess how it supports the base.
- Build the four walls of the PPS enclosure.
- Pad the walls and the base with a corrugated sheet to shield rain from soaking and weakening the wood.
- Build a roof and pad it with an iron sheet too.
Remember that this step isn’t necessary if travelling in a motorhome. Building an enclosure is only helpful if you plan on using your portable power supply outdoors, where there’s a greater risk of environmental damage.
Conclusion
The ideal portable power supply should meet your preferences and needs. Portable power stations and solar generators can supply your motorhome and campsite with electricity or serve as an emergency home backup when you need it most.
Solar-powered options are great for use indoors since they don’t emit toxic chemicals and are virtually silent.
Remember that the larger the battery capacity you purchase, the more power-hungry devices you can charge. Your energy consumption is critical in figuring out the proper battery capacity for your needs.
Now that you know how to maximise your portable power supply, you’ll never have to worry about your electronics running out of juice.
You’re ready to embrace life on the open road or in the wild.

